Saving seeds from your own harvest is one of the most rewarding and sustainable practices in gardening. For centuries, farmers and gardeners around the world have preserved seeds not only to save money but also to adapt plants to their local environment. By storing seeds, you create a direct link between today’s harvest and future crops, carrying forward the traits of plants that thrive in your unique soil and climate conditions.
However, the success of this practice depends heavily on proper storage. Without the right handling and preservation, seeds can lose viability, develop mold, or fall victim to pests. This article explores the step-by-step process of saving and storing seeds, along with the science behind seed longevity, and provides practical tips for maintaining a healthy, sustainable seed supply year after year.
Why Save and Store Seeds?
Before diving into the how, it’s worth considering the why. Storing seeds from your harvest offers numerous benefits:

- Cost Savings – Buying seeds each season can add up. Saving your own ensures you have a free supply.
- Sustainability – Seed saving reduces reliance on commercial seed companies and minimizes packaging waste.
- Local Adaptation – Over time, saved seeds adapt to your specific growing environment, often becoming more resilient.
- Preservation of Heirloom Varieties – Many unique varieties are only available through personal seed saving, ensuring biodiversity is maintained.
- Self-Sufficiency – Having your own seeds ensures food security, especially in uncertain times.
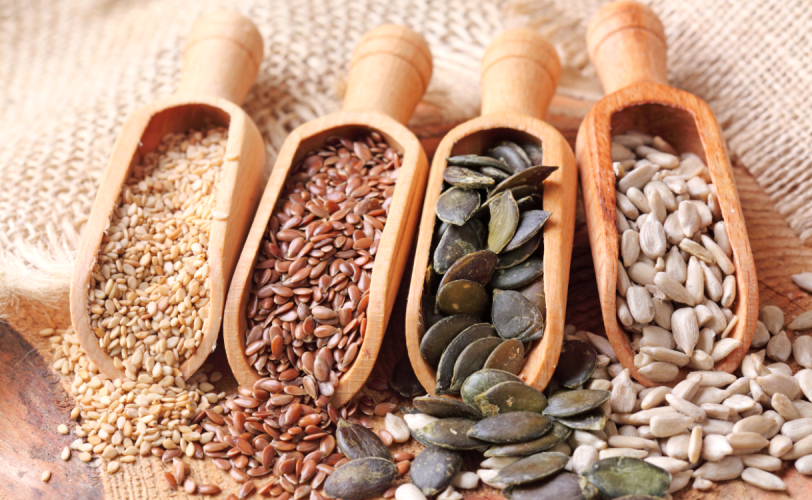
Step 1: Choosing the Right Plants for Seed Saving
Not all plants are equally good candidates for seed saving. Choosing wisely is the foundation of a successful seed harvest.
- Select Open-Pollinated or Heirloom Varieties: These plants breed true, meaning the seeds will grow into plants similar to the parent. Hybrid varieties (labeled F1) may not produce consistent offspring.
- Pick the Healthiest Plants: Save seeds only from strong, disease-free plants with desirable qualities such as size, flavor, or yield.
- Avoid Cross-Pollination Issues: Some plants, like squash and cucumbers, can cross-pollinate easily, resulting in unpredictable offspring. If growing multiple varieties, consider hand-pollination or isolation techniques.
Step 2: Harvesting Seeds Correctly
The timing and method of harvesting seeds vary depending on whether the plant is a dry-seeded crop (e.g., beans, peas, lettuce, herbs) or a wet-seeded crop (e.g., tomatoes, cucumbers, squash).
Dry-Seeded Crops
- Allow seeds to mature fully on the plant until pods or seed heads are dry and brittle.
- Harvest on a dry, sunny day to minimize moisture issues.
- Gently remove seed pods, heads, or stalks and place them in paper bags for further drying.
Wet-Seeded Crops
- Harvest fruits (like tomatoes or cucumbers) when fully ripe.
- Scoop out seeds and separate them from the pulp.
- For tomatoes, a fermentation process (2–3 days in a jar of water) removes the gelatinous coating, which can inhibit germination.
- Rinse thoroughly and dry seeds on a non-stick surface like a ceramic plate or mesh screen.
Step 3: Cleaning and Drying Seeds
Drying is one of the most critical steps in seed preservation. Moisture encourages mold, bacteria, and early sprouting, all of which ruin viability.

- Cleaning: Remove any pulp, husks, or chaff. Winnowing (blowing air gently across seeds) and sieving are traditional methods.
- Drying: Spread seeds in a single layer in a warm, dry, and well-ventilated area. Avoid direct sunlight, which can damage embryos.
- Testing for Dryness: Seeds are adequately dried when they are hard, brittle, and can snap instead of bend. A general guideline is that seeds should contain around 8–10% moisture before storage.
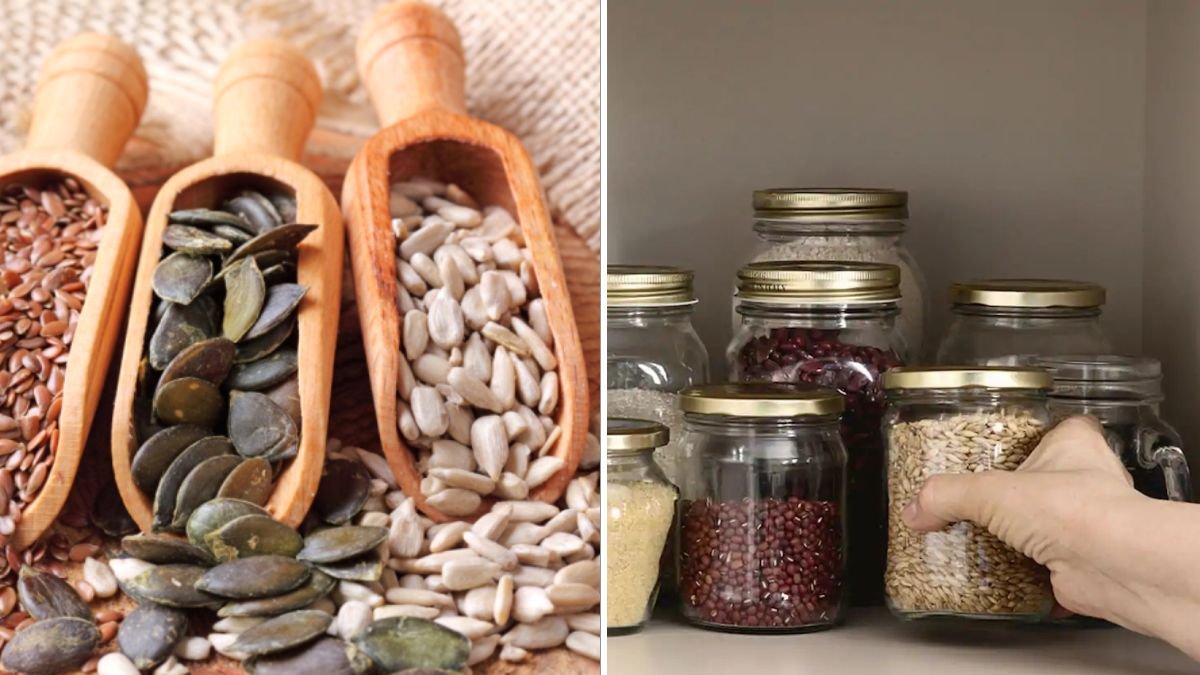
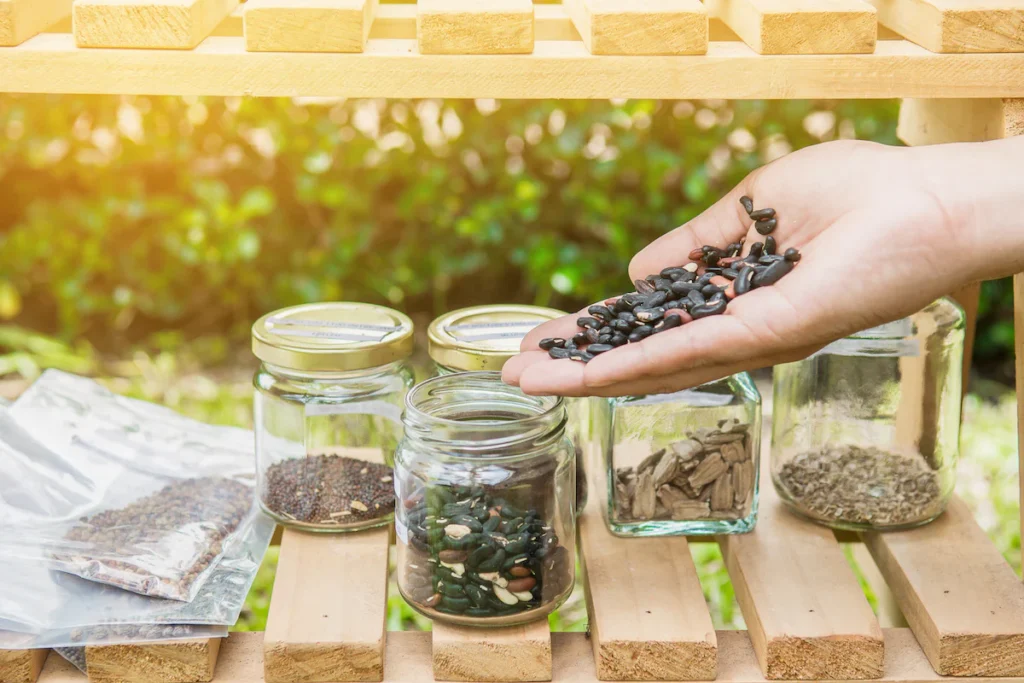
Step 4: Packaging and Labeling
How you package your seeds significantly affects their longevity.
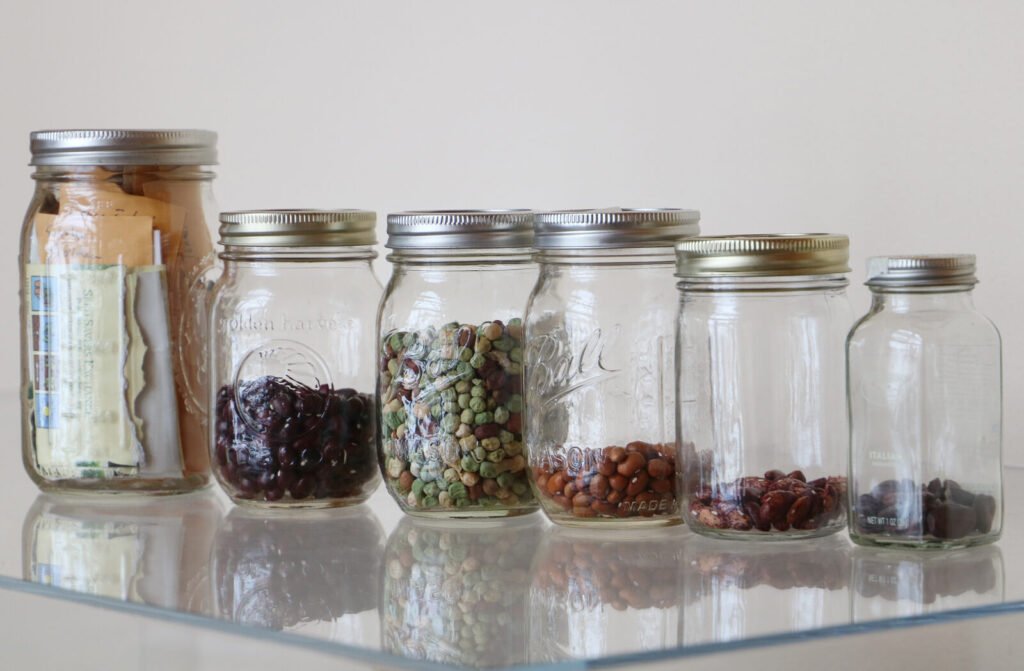
- Containers: Glass jars with tight-fitting lids, sealed plastic bags, or paper envelopes inside larger airtight containers all work well. Avoid storing seeds in plastic if they aren’t completely dry, as condensation may form.
- Labels: Always label seeds with plant variety, harvest year, and any special notes (such as flavor or yield). This prevents confusion later, especially when saving seeds from multiple crops.
- Silica Gel Packs or Rice: Including a desiccant in seed containers helps absorb residual moisture.
Step 5: Ideal Storage Conditions
The longevity of seeds is largely determined by temperature and humidity. A simple rule is the “100 Rule”: the sum of the storage temperature (in Fahrenheit) and relative humidity should not exceed 100.
- Cool: Seeds last longest in cool environments. Ideal temperatures are 32–41°F (0–5°C). Refrigerators are excellent storage spaces.
- Dark: Store seeds away from light, which can trigger premature sprouting.
- Dry: Humidity is the enemy of stored seeds. Keep containers sealed and use desiccants if necessary.
Step 6: Testing Seed Viability
Even with perfect storage, seeds gradually lose their germination ability. Before planting, it’s wise to test a small sample.

- Place 10 seeds on a damp paper towel.
- Seal inside a plastic bag and keep in a warm place.
- After the recommended germination period (varies by crop), count how many sprouted.
- A germination rate of 80% or higher is considered good. If it’s much lower, plant more seeds to compensate or replace them.
Tips for Storing Different Types of Seeds
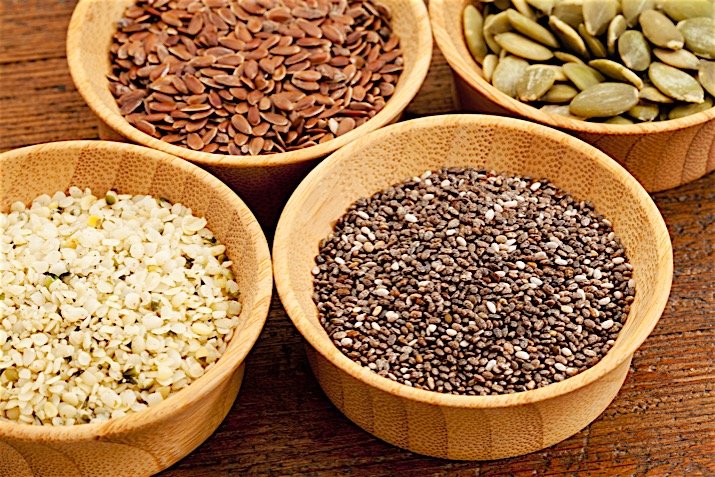
- Beans and Peas: Easy to store once fully dried; store in paper envelopes.
- Tomatoes: Require fermentation to remove coating but store well afterward.
- Squash and Pumpkins: Large seeds; ensure they are thoroughly dried before sealing.
- Lettuce and Herbs: Very small seeds—dry them on screens and handle carefully.
- Corn: Needs to be very dry before storage to prevent mold.
Common Mistakes to Avoid
- Not Drying Thoroughly – Moisture is the leading cause of seed spoilage.
- Using Plastic Bags Alone – Plastic traps condensation and accelerates mold growth.
- Storing in Warm Areas – Heat drastically reduces seed viability.
- Saving Hybrid Seeds – These rarely produce consistent plants.
- Forgetting to Label – Without accurate labeling, seeds become confusing and unreliable.
How Long Do Seeds Last?

Different seeds have different lifespans under proper storage conditions:
- Lettuce, onion, and parsnip: 1–2 years
- Corn, spinach, and peas: 2–3 years
- Beans, carrots, and peppers: 3–4 years
- Tomatoes, cucumbers, and melons: 4–6 years
- Squash and pumpkins: up to 6 years
The Science of Seed Dormancy
Seeds are living organisms in a dormant state, with metabolic activity slowed down to the bare minimum. When exposed to the right combination of water, oxygen, and temperature, they awaken and begin to germinate. Proper storage ensures that this dormancy is maintained until you are ready to grow again.
Understanding seed biology helps explain why cool, dark, and dry conditions are essential. Exposure to moisture and heat signals seeds that conditions are right for growth—triggering premature germination inside storage. Preventing these triggers is key to seed longevity.

Beyond Storage: Sharing and Community Seed Banks

Saving seeds is not just a personal practice but also a community effort. Many local groups organize seed swaps, where gardeners exchange varieties, preserving biodiversity and promoting cultural traditions. Establishing or contributing to a community seed bank ensures that valuable heirloom varieties are not lost.
Conclusion
Storing seeds from this year’s harvest is both a practical and empowering habit. It saves money, promotes sustainability, and strengthens the connection between gardener and garden. The process—from choosing the right plants, harvesting, cleaning, and drying, to storing under ideal conditions—ensures that seeds remain viable and productive for years to come.
Whether you are a home gardener, a farmer, or a community seed saver, proper storage techniques guarantee that the legacy of this year’s harvest will continue into the next. With care and knowledge, a handful of seeds can grow into an abundance of food and a tradition of resilience.
