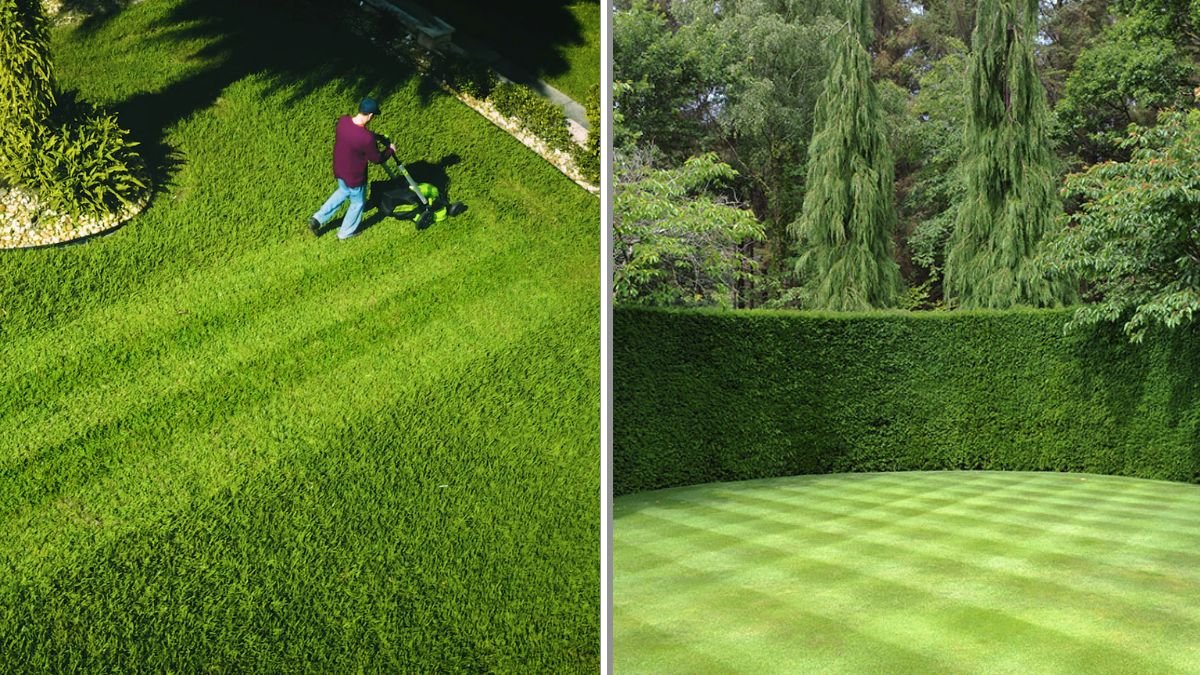
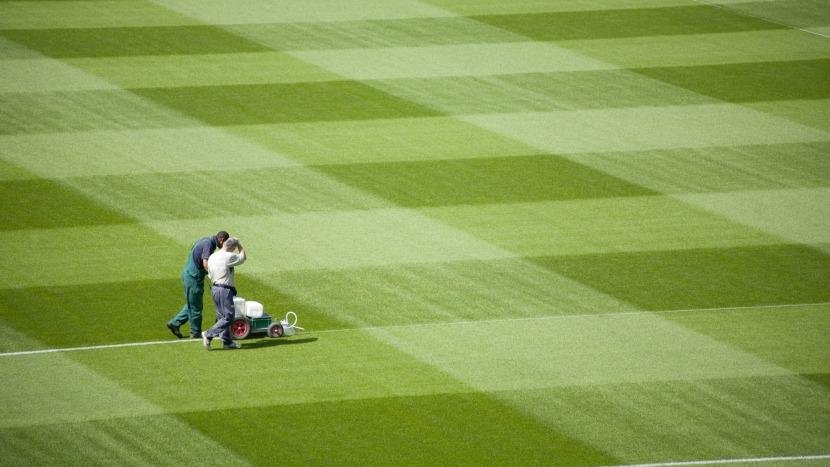
If you’ve ever admired the outfield of a baseball stadium or a perfectly manicured golf course, chances are you were mesmerized by the crisp, alternating stripes in the grass. The good news? You don’t need to be a professional groundskeeper to achieve the same effect at home. With the right tools, techniques, and a bit of practice, you can give your lawn those eye-catching stripes that make it look like it belongs in a magazine spread.
Here’s a detailed guide to creating striped patterns in your lawn like the pros.
What Creates the Striped Effect?
Contrary to popular belief, lawn stripes aren’t created by different grass types or paints. Instead, stripes are an optical illusion caused by light reflecting off grass blades bent in opposite directions.
- Grass bent toward you looks darker because you’re seeing more of the blade’s shadowed side.
- Grass bent away from you looks lighter because you’re seeing the sunlit side.
This simple principle is what professional groundskeepers use to create not just stripes, but also diamonds, checkerboards, and intricate lawn art.

Step 1: Choose the Right Grass
Some grasses stripe better than others.
- Cool-season grasses (Kentucky bluegrass, perennial ryegrass, fescues) bend easily and hold patterns well, making them ideal for striping.
- Warm-season grasses (Bermudagrass, zoysia, St. Augustine) are stiffer and shorter, so patterns are less pronounced.
If you live in a warm region, you can still stripe your lawn—it just may not be as bold as a cool-season yard.
Step 2: Mow at the Right Height
Grass length plays a big role in how noticeable your stripes are.
- Mow taller (3–4 inches): Longer blades bend more dramatically, enhancing contrast.
- Avoid scalping: Cutting too short weakens grass and reduces stripe visibility.
- Stay consistent: Uniform mowing height ensures crisp, even patterns.
Pro tip: Mow in dry conditions. Wet grass clumps, bends unevenly, and ruins clean lines.

Step 3: Use the Right Equipment
Professional grounds crews often use heavy rollers to bend grass. Fortunately, you don’t need stadium-level gear—just the right mower setup.
- Striping kits: Many lawn mower brands sell roller attachments designed for homeowners.
- DIY roller: You can make one by attaching a weighted PVC pipe, rubber mat, or even a sand-filled water roller behind your mower.
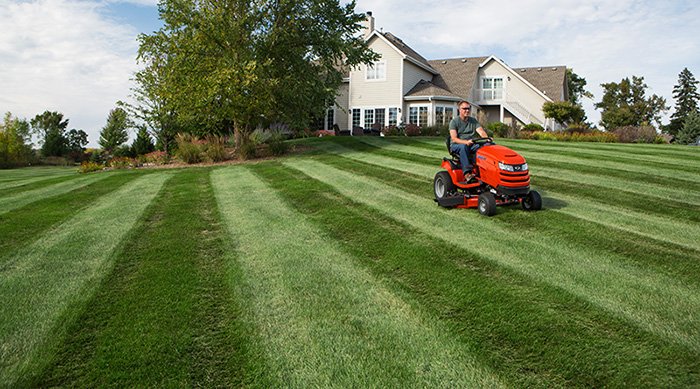
- Self-propelled mowers: These are easier to keep in straight lines, especially on larger lawns.
Step 4: Plan Your Pattern

Before you start mowing, visualize the design you want:
- Basic stripes: Straight lines are the simplest and most classic pattern.
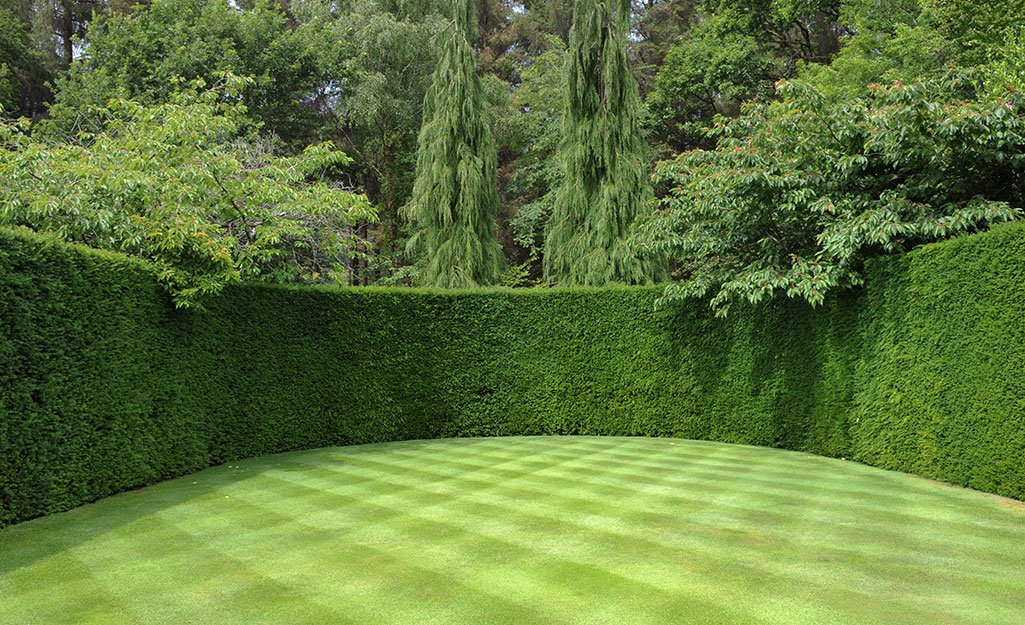
- Checkerboard: Alternate stripes horizontally and vertically for a bold effect.
- Diamonds: Mow diagonal stripes and cross them with a second set of diagonals.
- Curves or waves: Slight steering adjustments create flowing, artistic designs.
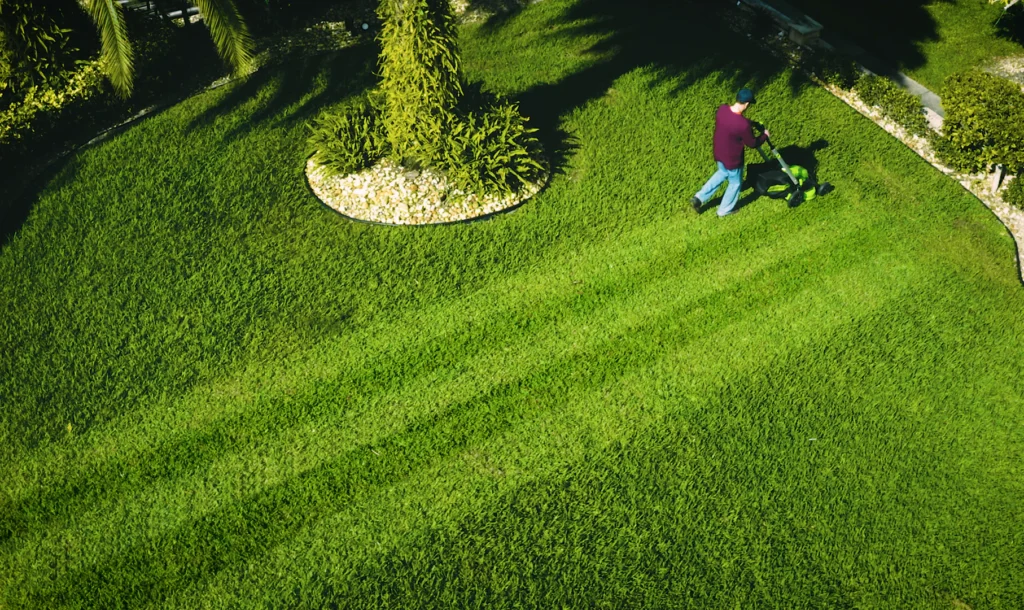
It helps to mark starting points with stakes or use a landmark (like a tree or driveway) to keep your rows straight.
Step 5: Perfect Your Mowing Technique
Clean stripes are all about precision.

- Pick a straight line to follow (like a fence or sidewalk).
- Mow your first stripe carefully—this will guide the rest of your pattern.
- Turn gently at the end of each row to avoid tearing grass.
- Mow back in the opposite direction right beside your first pass to create contrast.
- Overlap slightly (1–2 inches) to prevent uncut strips.
For checkerboards or diamonds, repeat the pattern at a 90° or 45° angle across your first set of stripes.
Step 6: Enhance the Contrast
If your stripes look faint, there are tricks to sharpen them.
- Water the lawn lightly after mowing—moisture helps blades bend and stay in place.
- Double-roll the pattern by running the roller over stripes without cutting again.
- Use fertilizer and care practices to keep grass thick and healthy, since fuller turf bends more evenly.
Step 7: Keep Your Lawn Healthy
Striping looks best on a lush, vibrant lawn. Thin, patchy, or stressed grass won’t hold patterns well. Maintain a strong lawn with these basics:
- Fertilize seasonally with balanced nutrients.
- Aerate annually to reduce compaction.
- Overseed thin spots so patterns remain consistent.
- Water deeply and infrequently (about 1 inch per week).
Step 8: Change Patterns Regularly
As fun as stripes are, mowing in the same pattern week after week isn’t great for your lawn.

- Soil compaction: Repeated wheel tracks in the same places can compact the soil.
- Grass leaning permanently: Over time, blades may get “trained” to one direction.
- Wear and tear: Consistent paths can cause ruts or thinning.
To avoid this, rotate between stripes, diagonals, checkerboards, or even just alternating mowing directions.
Common Mistakes to Avoid
- Cutting grass too short: Weakens turf and reduces the striping effect.
- Uneven mowing: Creates jagged or mismatched lines.
- Using a dull mower blade: Tears instead of cleanly cutting grass.
- Skipping lawn care: Striping only looks good if the lawn itself is healthy.
Advanced Striping Designs
Once you’ve mastered straight stripes, you can get creative. Some pros design team logos, spirals, or even waves across entire lawns. While these take practice, starting with clean, consistent stripes will give you the foundation you need.
Final Thoughts
Creating striped patterns in your lawn isn’t just about aesthetics—it’s about enjoying your outdoor space and giving your home a professional, polished look. With the right mowing height, proper striping tools, and a healthy lawn, you can achieve results that rival professional sports fields.
Start simple with basic stripes, experiment with checkerboards or diagonals, and soon you’ll have neighbors asking how you turned your yard into a work of art.

Your secret? Just a little planning, some smart lawn care, and the satisfaction of mowing like a pro.