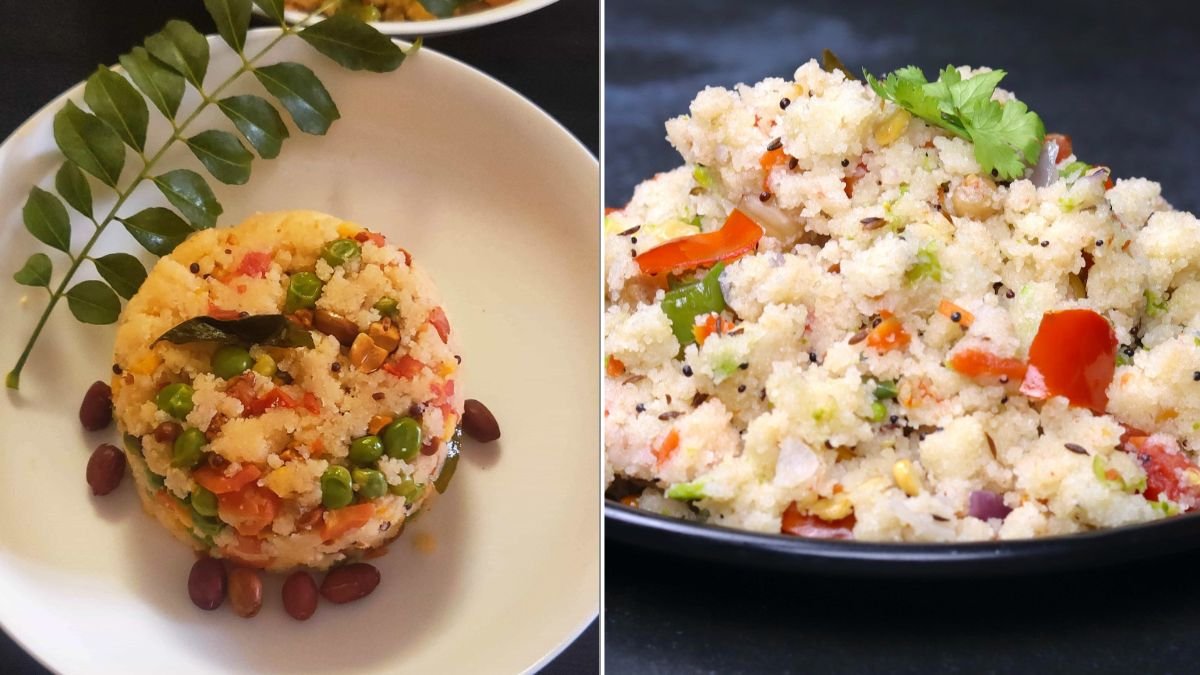
Few dishes can match the simple, comforting charm of a warm bowl of Vegetable Upma. This humble South Indian breakfast — made with roasted semolina (rava or sooji) and colorful vegetables — is light, nourishing, and bursting with subtle flavors of curry leaves, mustard seeds, and ghee. It’s the kind of dish that fills your kitchen with a homely aroma and your stomach with satisfaction.
But despite its simplicity, making perfect upma — fluffy, non-sticky, and full of flavor — is an art. Many beginners end up with a sticky or lumpy mess instead of the soft, grainy texture that defines a great upma. The secret lies in mastering the roasting, water ratio, and timing.
In this article, we’ll walk through 7 easy steps to prepare perfect vegetable upma every single time — wholesome, aromatic, and deliciously light.
Step 1: Gather Fresh Ingredients

Before you start, make sure all your ingredients are ready — this dish cooks quickly, so a little preparation goes a long way.
Ingredients (serves 3–4):
Main:
- Rava / Sooji (Semolina) – 1 cup (preferably coarse variety)
- Water – 2½ cups (for fluffy upma)
- Oil or Ghee – 2 tablespoons (for roasting and tempering)
- Salt – To taste
For Tempering:
- Mustard Seeds – ½ teaspoon
- Urad Dal (Split Black Gram) – 1 teaspoon
- Chana Dal (Split Bengal Gram) – 1 teaspoon
- Curry Leaves – 8–10
- Green Chilies – 2, slit
- Ginger – 1 teaspoon, finely grated
- Asafoetida (Hing) – a pinch (optional)
For Vegetables (chopped finely):

- Onion – 1 medium
- Carrot – 1 small
- Green Beans – 6–8
- Peas – ¼ cup (fresh or frozen)
- Tomato – 1 small (optional, for slight tanginess)
For Garnish:
- Fresh Coriander Leaves – 2 tablespoons, chopped
- Lemon Juice – 1 tablespoon
Pro Tip:
Use coarse semolina (upma rava) instead of fine sooji — it gives your upma that light, fluffy texture instead of turning mushy.
Step 2: Roast the Rava Until Golden and Aromatic
This is the foundation of your upma — and skipping or rushing this step can ruin the final texture.
- Heat a thick-bottomed pan or kadai on medium heat.
- Add 1 teaspoon ghee or oil (optional, but it helps prevent sticking).
- Add 1 cup of rava and dry roast it for about 6–8 minutes, stirring continuously.
You’ll know it’s done when the rava turns light golden and gives off a nutty aroma. The grains should be dry and separate, not brown.
Once roasted, transfer it to a plate and let it cool.
Why Roasting Matters:
Properly roasted rava doesn’t clump when you add water later. It also gives your upma a slightly toasty, richer flavor that makes all the difference.
Pro Tip: Roast extra rava and store it in an airtight jar — it stays fresh for up to 2 weeks and cuts prep time in half.

Step 3: Prepare the Tempering (Tadka)
Now comes the flavorful base that defines authentic South Indian upma — the tadka.
- In the same pan, add 2 tablespoons of ghee or oil.
- When hot, add:
- Mustard seeds and let them splutter.
- Urad dal and chana dal; sauté until light golden.
- Curry leaves and green chilies.
- Grated ginger and a pinch of asafoetida (if using).
The combination of toasted lentils, mustard seeds, and curry leaves adds depth and crunch to your upma.
Pro Tip: If you prefer a lighter version, use sunflower or coconut oil. For a richer, traditional taste, go with pure ghee.
Step 4: Sauté the Vegetables

Once the tadka releases its aroma, it’s time to add color and nutrients.
- Add finely chopped onions and sauté until they turn translucent.
- Add carrots, beans, and peas, stirring occasionally.
- Sprinkle a little salt to help the veggies cook faster.
- Cook for about 4–5 minutes, or until the vegetables turn slightly tender but still have a bite.
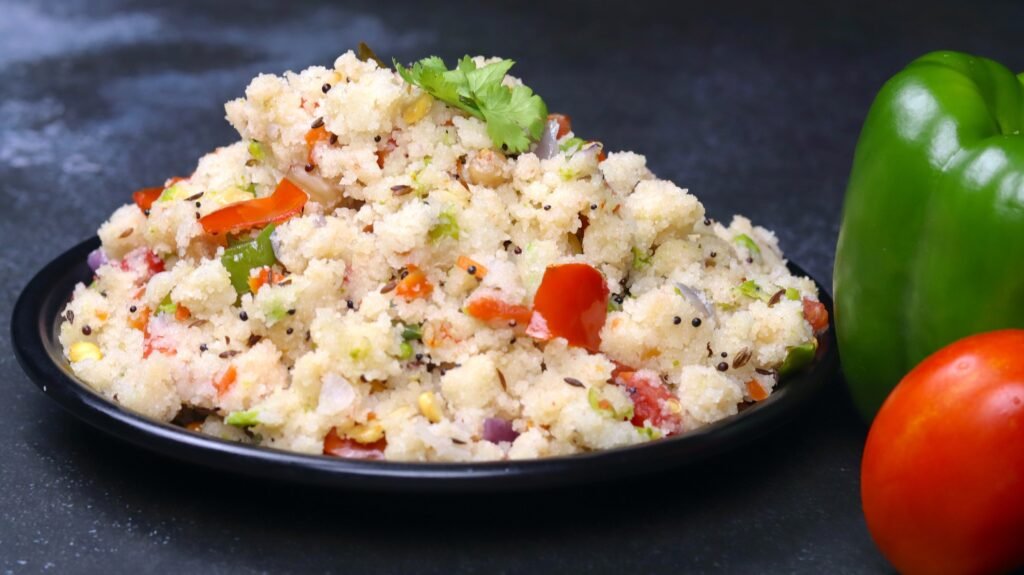
If you’re using tomatoes, add them now and sauté for another 2 minutes.
Pro Tip:
You can customize your upma with vegetables like capsicum, corn, or even spinach for a different flavor and texture.
Step 5: Add the Right Amount of Water
This step determines whether your upma turns out fluffy or sticky.

For every 1 cup of rava, use 2½ cups of water for a soft, fluffy upma.
- Pour the measured water into the pan with vegetables.
- Add salt to taste and bring the water to a gentle boil.
- Taste the water — it should be slightly saltier than you prefer, because the rava will absorb some of it.
Optional Flavor Boosters:
- Add a small piece of jaggery (½ teaspoon) for subtle sweetness.
- For richer flavor, substitute half the water with thin coconut milk.
Pro Tip: Always boil the water before adding rava — this prevents lumps and ensures even cooking.
Step 6: Add Roasted Rava Gradually and Stir Constantly
This is the make-or-break moment for perfect upma!
- Reduce the flame to low once the water starts boiling.
- Slowly add the roasted rava, a little at a time, while stirring continuously with your other hand.
- Keep stirring until all the rava is incorporated and the mixture starts to thicken.
This gradual mixing prevents clumps and helps each grain cook evenly.
- Cover the pan and steam-cook for 2–3 minutes on low flame.
- Open the lid, fluff the upma gently with a spoon, and check if all the water has been absorbed.
If done right, the grains will be soft, separate, and fluffy — never sticky or mushy.
Pro Tip:
Do not overcook — overcooked upma becomes dry and heavy. Turn off the heat as soon as the mixture thickens and pulls away from the sides of the pan.

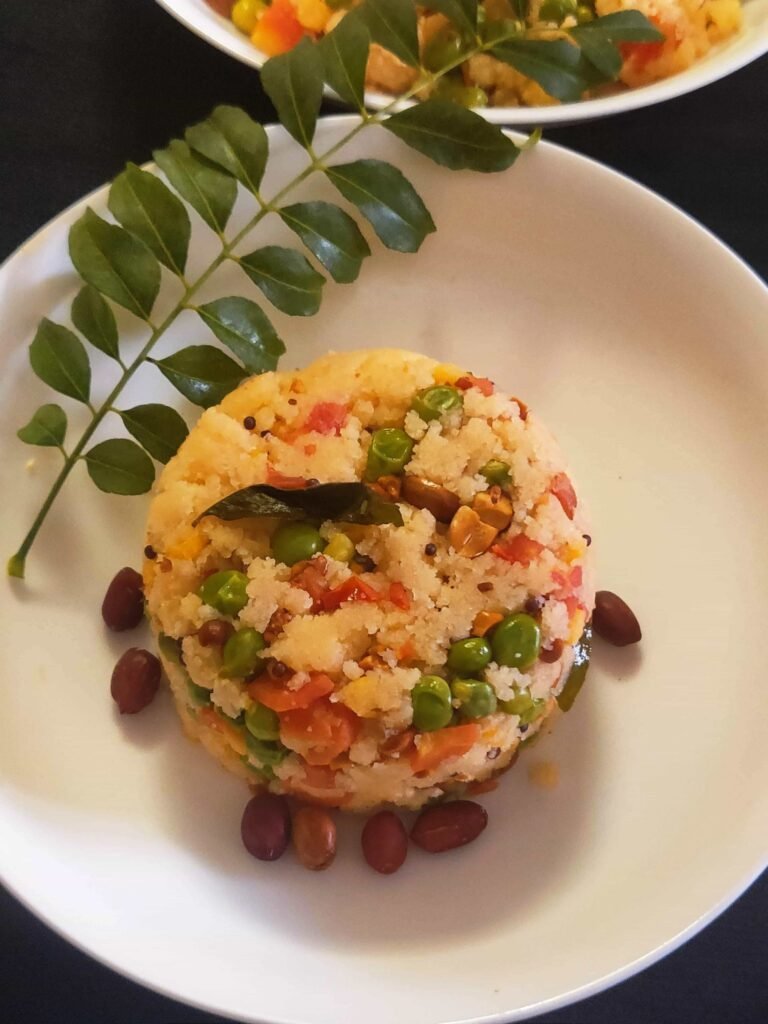
Step 7: Garnish and Serve with Love
Now it’s time to bring your dish together with a few finishing touches.
- Drizzle 1 teaspoon of ghee (optional) for extra aroma.
- Add fresh coriander leaves and lemon juice for brightness and freshness.
- Gently mix once and serve immediately while hot.
Serving Suggestions:
Vegetable upma is versatile — it can be enjoyed plain or with accompaniments like:
- Coconut chutney (classic pairing)
- Sambar or rasam for a hearty meal
- Pickle or curd for a quick snack twist
- Banana or sugar (in traditional Tamil homes, sweet-salty combos are popular)
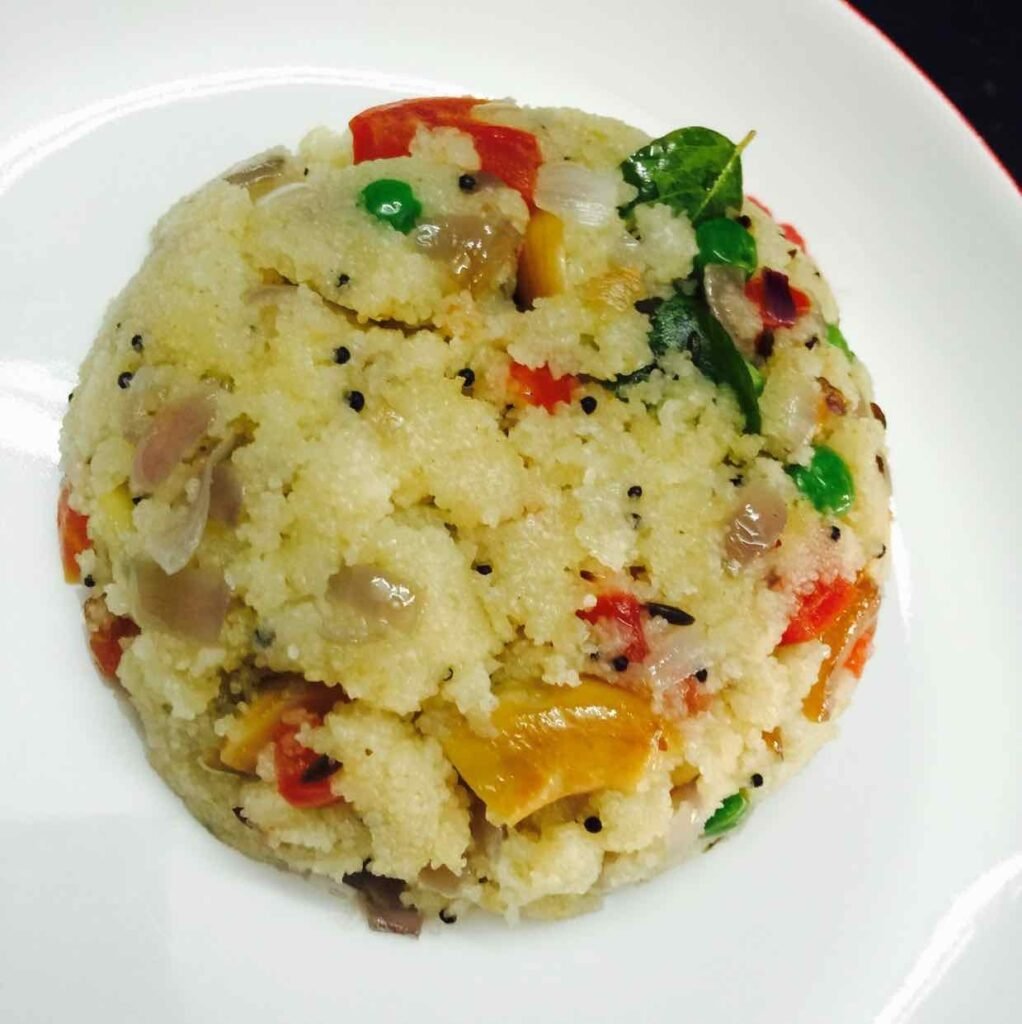
Pro Tip:
Serve it in a small bowl and invert it onto a plate for that perfect dome-shaped restaurant-style presentation.
Extra Tips for the Perfect Upma Every Time
- Use coarse semolina for better texture — fine sooji tends to clump.
- Roast patiently — under-roasted rava will make the upma sticky.
- Water ratio is key: For soft upma, 2½:1 water-to-rava works best.
- Add rava slowly while stirring — never dump it all at once.
- Adjust consistency — if it feels too thick, sprinkle a few tablespoons of hot water and stir gently.
- Keep it hot: Upma thickens as it cools, so serve immediately.
- Make it healthier: Replace some rava with broken wheat (dalia) or millets like foxtail millet for a fiber-rich version.
Why Vegetable Upma Is the Perfect Breakfast
- Quick & Easy: Takes less than 20 minutes from start to finish.
- Nutritious: Packed with fiber, vitamins, and good carbs.
- Versatile: You can adapt it with seasonal veggies, spices, or even nuts.
- Light on the stomach: Perfect for breakfast, lunchboxes, or even dinner.
- Budget-Friendly: Uses everyday pantry staples — nothing fancy required.
And most importantly, it’s comfort food — pure and simple.
Final Thoughts
The magic of Vegetable Upma lies in its simplicity. It’s not just about semolina and vegetables; it’s about transforming humble ingredients into something flavorful, balanced, and soul-satisfying.
With these 7 easy steps, you’ll never end up with sticky or bland upma again. Remember:
- Roast patiently.
- Temper with care.
- Cook with the right water ratio.
- Stir steadily.
- Serve fresh.
Once you get the rhythm of the process, upma becomes effortless — a go-to breakfast that’s quick, healthy, and endlessly adaptable.

So tomorrow morning, skip the packaged mixes. Toast your rava, chop a few veggies, and stir your way to a bowl of perfectly fluffy, aromatic Vegetable Upma — a South Indian classic that never goes out of style.