Mint is one of the most popular herbs used in kitchens and home remedies worldwide. From teas and smoothies to garnishing dishes, mint adds flavor, aroma, and freshness to food and drinks. But buying fresh mint frequently can be costly, and store-bought mint often loses flavor quickly.
The YouTube video “Plant Mint with Plastic Bottles” introduces a simple, cost-effective, and eco-friendly method to grow mint at home using recycled plastic bottles. This method is perfect for urban gardeners, balcony growers, and beginners, requiring minimal space and effort.
In this blog, we’ll explore step-by-step instructions for growing mint in plastic bottles, including preparation, planting, care, and harvesting tips. By the end, you’ll be able to enjoy fresh, aromatic mint leaves year-round.
Why Grow Mint at Home
Growing mint at home offers several advantages:
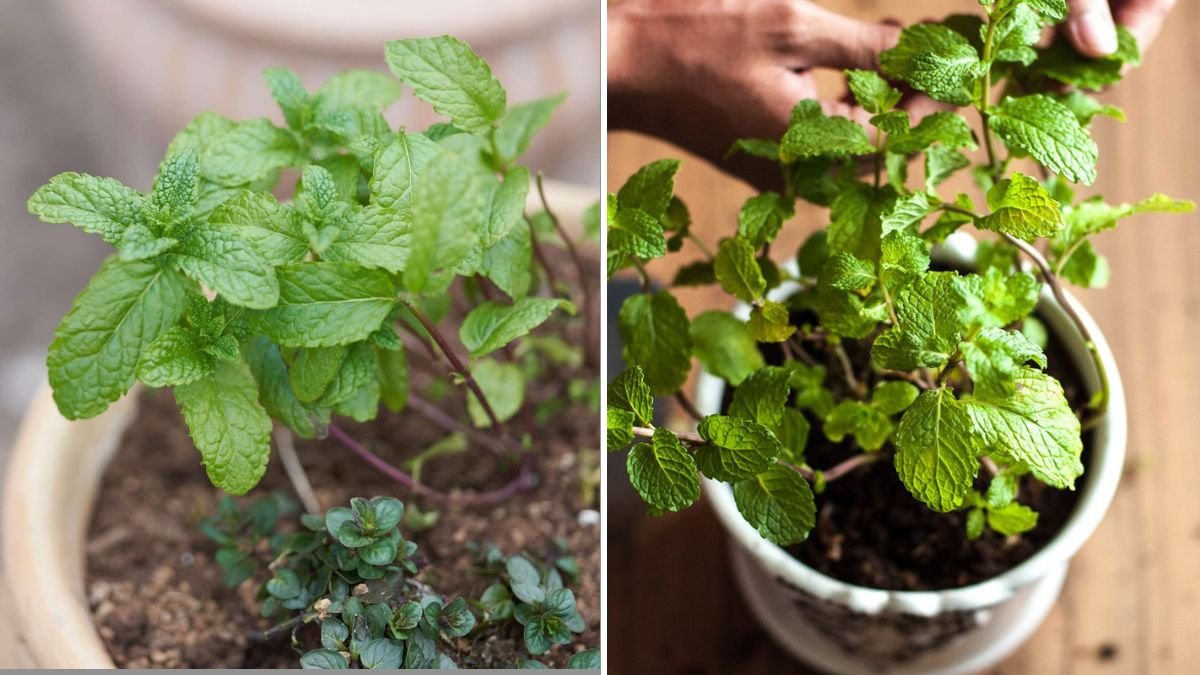
Fresh and aromatic: Mint straight from your garden is more flavorful than store-bought leaves.
Cost-effective: One plant can provide leaves continuously for months.
Space-saving: Perfect for terraces, balconies, windowsills, or small patios.
Eco-friendly: Reuse plastic bottles and reduce plastic waste.
Therapeutic and culinary benefits: Mint has digestive, cooling, and antioxidant properties.
With this simple method, even urban gardeners with limited space can enjoy a continuous supply of fresh mint.
Step 1: Selecting Healthy Mint Cuttings
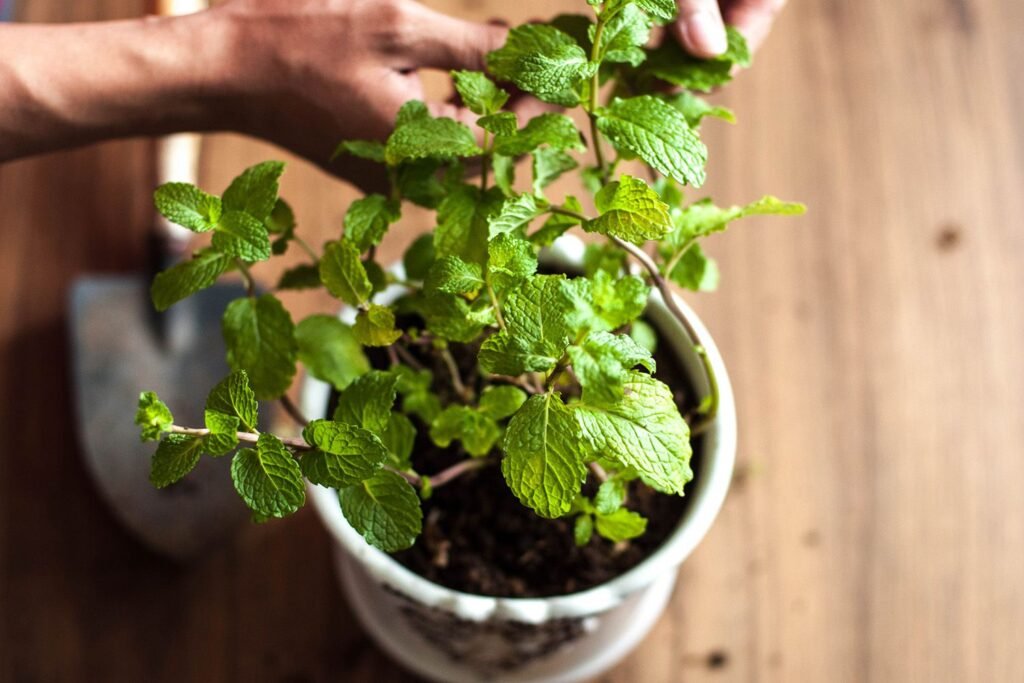
Mint grows best from cuttings rather than seeds because it roots quickly and grows faster.
Tips for selecting mint cuttings:

- Choose healthy, green, disease-free stems from mature plants.
- Each cutting should be 4–6 inches long with at least 2–3 nodes.
- Avoid cuttings with yellow or damaged leaves, as they may not root properly.
Healthy cuttings ensure fast root development and abundant growth.
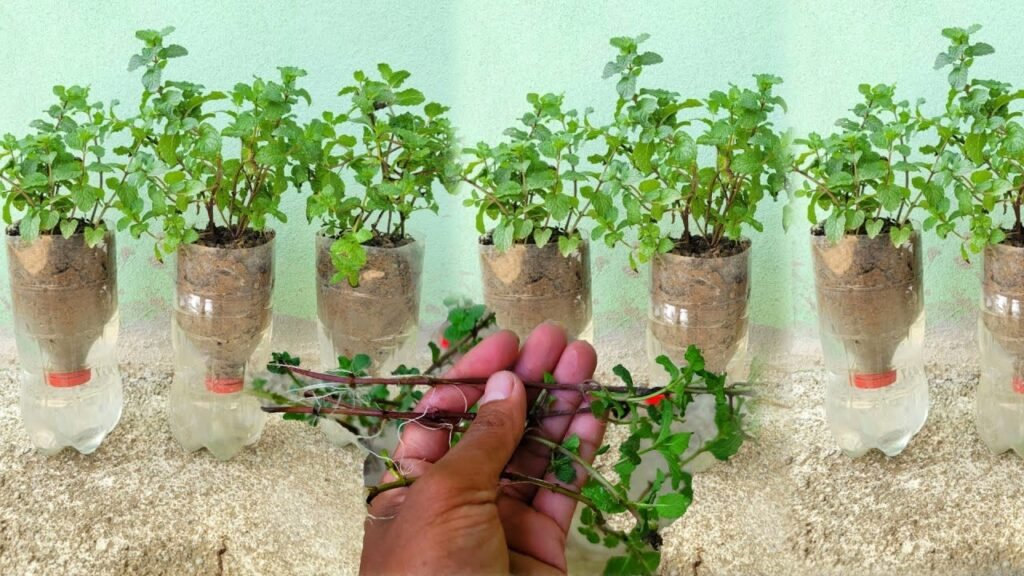
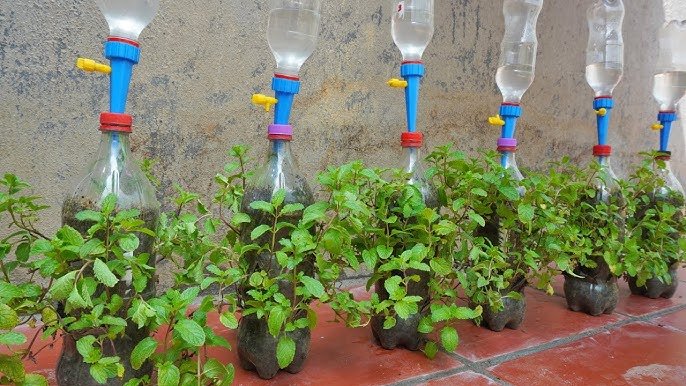
Step 2: Preparing Plastic Bottles
Plastic bottles are the foundation of this method, providing a recycled container that saves space.
Steps to prepare bottles:
- Use clean, empty plastic bottles (1–2 liters work best).
- Cut the bottle in half or create a wide opening at the top for planting.
- Drill small holes at the bottom for drainage.
- Rinse thoroughly to remove residues.
Plastic bottles act as mini-planters, allowing you to control soil, water, and sunlight efficiently.
Step 3: Preparing the Mint Cuttings
Mint cuttings need proper preparation to root successfully:
Steps:
- Trim the lower leaves, leaving only the top 2–3 leaves.
- If desired, dip the cut ends in rooting hormone to encourage faster root growth.
- Place cuttings in water or moist soil for initial rooting (water rooting is faster).
Mint is resilient and roots quickly, often within 7–10 days.
Step 4: Choosing Soil for Planting
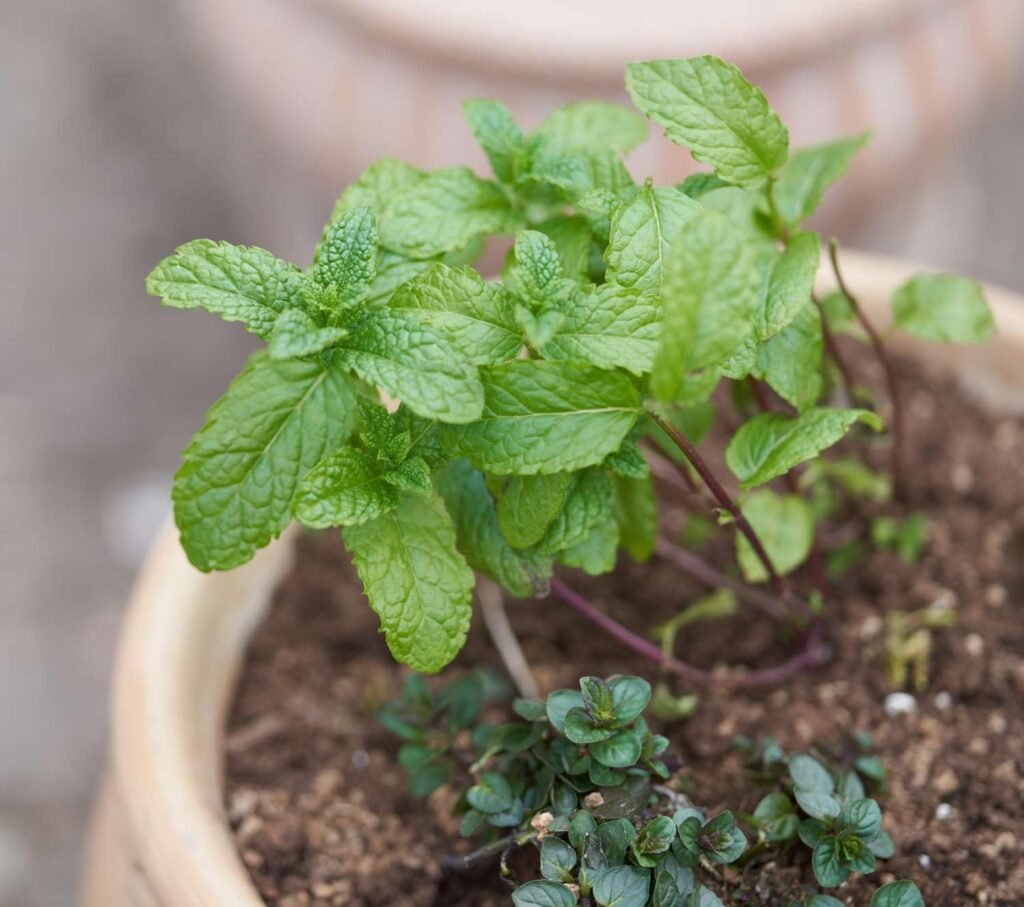
Mint prefers rich, well-draining soil for healthy growth.

Recommended soil mix:
- 50% garden soil or loamy soil
- 30% compost or organic manure
- 20% sand or perlite for drainage
Tips:
- Ensure the soil is light and loose for fast root growth.
- Avoid heavy clay soils, which can retain too much water and cause rot.
- Adding compost ensures continuous nutrients for lush growth.
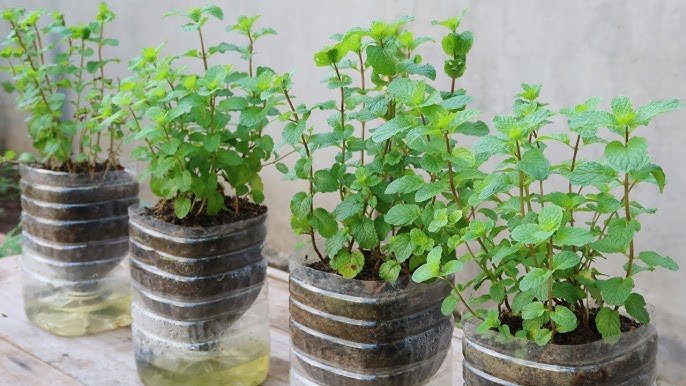
Step 5: Planting Mint in Plastic Bottles
Once cuttings have roots, it’s time to plant:
Steps:
- Fill the bottom half of the bottle with the prepared soil mix.
- Make a small hole in the soil for the mint cutting.
- Place the rooted cutting into the hole and gently cover the base with soil.
- Water lightly to settle the soil around the roots.
Spacing tips:
- If planting multiple cuttings, ensure 4–6 inches spacing to allow proper growth.
Step 6: Sunlight and Temperature Requirements
Mint grows best in moderate sunlight and cool temperatures:
- Ideal temperature: 18–25°C (65–77°F)
- Provide 4–6 hours of indirect sunlight daily
- In hot climates, avoid scorching by placing bottles in partial shade
Proper light ensures lush leaves and strong stems.
Step 7: Watering Mint
Mint requires consistent moisture but doesn’t tolerate soggy soil:

- Water when the top inch of soil feels dry.
- Keep soil evenly moist; avoid overwatering to prevent root rot.
- Mulch around the base to retain moisture and regulate temperature.
Pro Tip: Using the bottle’s transparency, you can monitor root health and moisture easily.
Step 8: Fertilization for Lush Growth
Mint grows quickly and benefits from regular feeding:
- Use liquid organic fertilizer or compost tea every 2 weeks.
- Avoid excessive chemical fertilizers, as mint is edible and absorbs nutrients quickly.
- Compost or well-rotted manure incorporated into the soil at planting time boosts growth.
Balanced nutrients result in fast-growing, aromatic leaves.
Step 9: Supporting Mint Plants
Mint can spread vigorously and sometimes needs support:
- For tall or bushy varieties, use small stakes or trellises inside the bottle.
- Trim overcrowded stems to allow air circulation and sunlight penetration.
Proper support encourages healthy, rapid growth and prevents disease.
Step 10: Pest and Disease Management
Mint is generally hardy but can attract pests like aphids or spider mites.
Organic management:
- Spray neem oil or mild garlic solution if pests appear.
- Remove yellow or damaged leaves promptly.
- Ensure bottles have good drainage and spacing to prevent fungal infections.
Healthy plants thrive and produce strong, flavorful leaves quickly.

Step 11: Harvesting Mint
Mint leaves can be harvested as soon as the plant has 6–8 leaves:
- Use scissors to trim leaves, cutting just above a node to encourage branching.
- Regular harvesting promotes new growth and bushier plants.
- Avoid cutting more than one-third of the plant at a time to prevent stress.
Frequent harvesting ensures a continuous supply of fresh leaves for months.
Step 12: Advantages of Growing Mint in Plastic Bottles
Using plastic bottles for mint gardening offers many benefits:
Space-saving: Perfect for balconies, terraces, and small patios.
Eco-friendly: Recycles plastic bottles into planters.
Low-maintenance: Minimal effort once established.
Continuous harvest: Regular pruning produces fresh leaves year-round.
Cost-effective: One cutting can provide endless leaves.
Even beginners can create a thriving, low-cost mint garden with this method.
Step 13: Culinary and Health Benefits of Mint
Homegrown mint is fresh, aromatic, and versatile:
Make refreshing teas and coolers
Add to salads, sandwiches, and desserts
Flavor soups, stews, and sauces naturally
Garnish drinks and dishes for aroma and color
Health benefits:

- Aids digestion and relieves bloating
- Provides antioxidants and vitamins
- Acts as a natural coolant and reduces inflammation
- Boosts immunity and freshens breath
Fresh homegrown mint is more flavorful and healthier than store-bought varieties.
Step 14: Tips for Maximum Success
- Choose healthy, green cuttings with nodes.
- Use light, nutrient-rich soil for fast root growth.
- Provide moderate sunlight and consistent moisture.
- Fertilize every 2–3 weeks with organic compost or liquid fertilizer.
- Harvest frequently to encourage bushy growth.
- Monitor for pests and remove damaged leaves.
- Replant cuttings or divide plants to expand your mint garden.
Following these tips ensures lush, aromatic, and abundant mint throughout the year.
Conclusion: Grow Mint Easily with Plastic Bottles
The YouTube video “Plant Mint with Plastic Bottles” demonstrates a simple, cost-effective, and eco-friendly way to grow mint at home.
By preparing healthy cuttings, using recycled plastic bottles, providing proper soil, sunlight, and water, and harvesting regularly, anyone can enjoy fresh, flavorful mint leaves year-round.
Start growing mint today and turn ordinary bottles into a thriving herb garden!