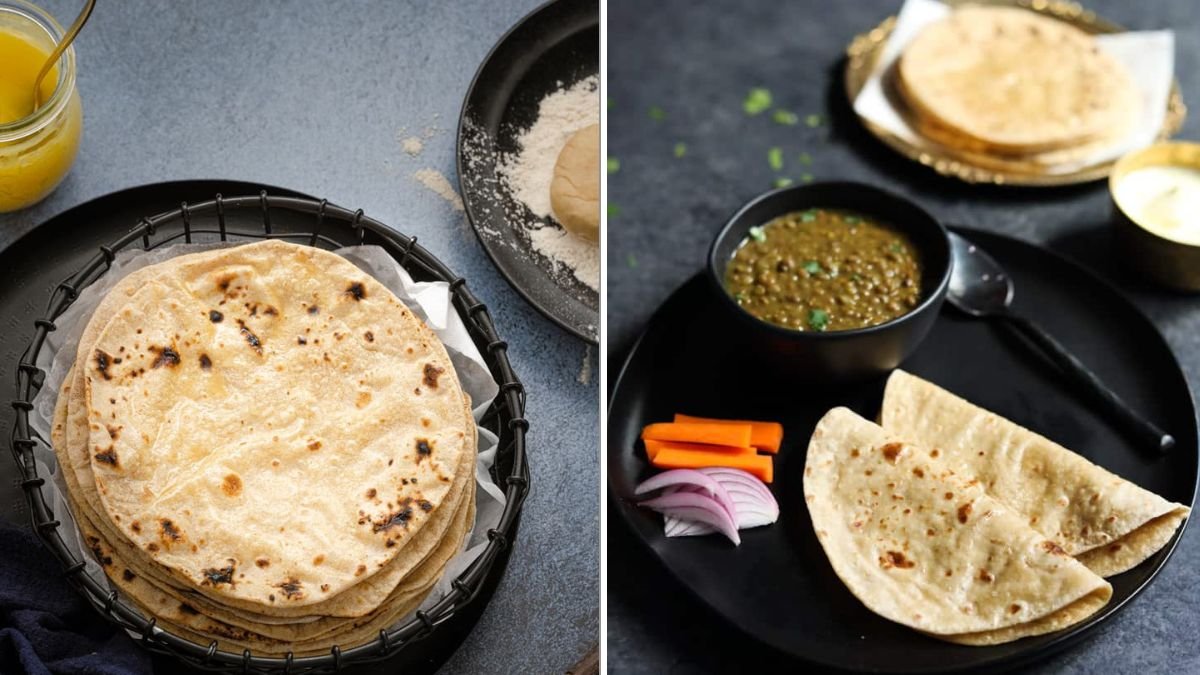
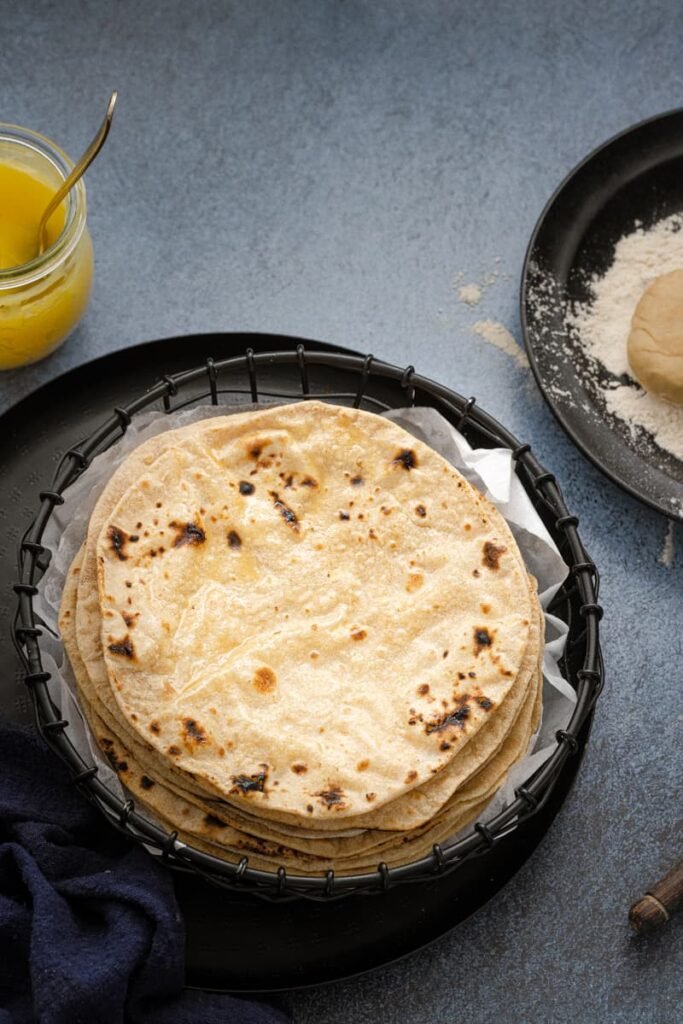
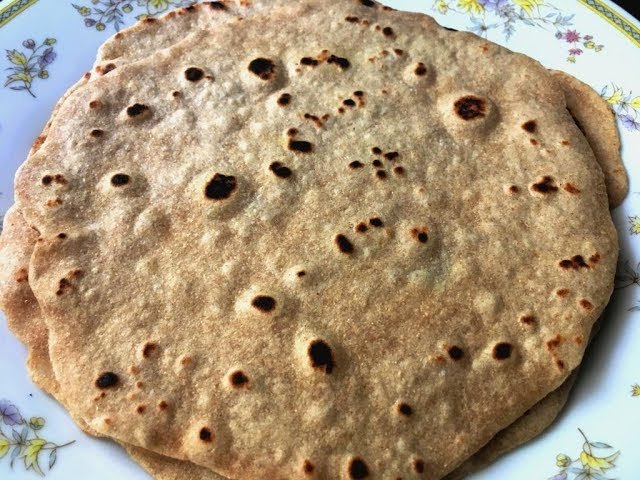
A soft, puffed roti fresh off the tawa is the pride of every Indian kitchen. Traditionally, a bit of oil or ghee is brushed on top to enhance flavor and softness—but what if you want to skip it entirely? Whether you’re aiming for a healthier diet or following an oil-free lifestyle, you can still enjoy perfectly soft, pliable rotis with the right technique.
In this detailed 5-step guide, you’ll learn exactly how to make soft, oil-free rotis that stay tender for hours, ideal for any meal of the day.
Step 1: Choose the Right Flour
The base of a soft roti starts with good quality atta (whole wheat flour). The right flour makes a huge difference in texture.
Look for:
- Fresh, finely ground, 100% whole wheat flour.
- Light brown color and slightly coarse texture.
- Natural aroma—avoid flour that smells musty or bitter.
If you grind your own flour or buy from a local mill, you’ll notice the rotis turn out softer and tastier. For extra softness, you can mix ¾ cup whole wheat flour with ¼ cup multigrain or all-purpose flour, but this is optional.
Pro Tip: Always store your flour in an airtight container in a cool, dry place. Stale flour absorbs more water and makes rotis dense.

Step 2: Knead the Dough Perfectly
The secret to soft rotis lies in how you knead your dough.
Ingredients:
- 2 cups whole wheat flour
- About ¾ cup warm water (adjust as needed)
- Pinch of salt (optional)
Steps:
- Place the flour in a wide mixing bowl.
- Slowly add warm water, little by little. Mix with your fingers in a circular motion.
- Once the dough starts coming together, use your palms to knead it.
- Knead for 8–10 minutes until the dough becomes smooth and elastic.
- Cover with a damp cloth and rest for 20–30 minutes.
This resting period allows gluten to relax, which helps your roti roll out evenly and puff beautifully.
Consistency Check: The dough should be soft but not sticky. If it feels dry, wet your hand and knead again for a minute.
Pro Tip: Instead of oil, you can use a few drops of warm water while kneading to prevent sticking.

Step 3: Roll the Rotis Evenly
Once the dough is rested, divide it into small, even-sized balls (about the size of a golf ball).
Rolling Steps:
- Lightly dust your rolling surface with dry flour.
- Flatten one dough ball gently with your fingers.
- Using a rolling pin, roll it into a circle about 6 inches in diameter.
- Rotate the dough slightly after every few rolls to maintain shape and thickness.
Keep the edges slightly thicker than the center—this helps the roti puff up evenly when cooked.
Pro Tip: Don’t use too much dry flour while rolling, as it can make the roti dry. Light dusting is enough.
Step 4: Cook on a Hot Tawa (No Oil Needed)

The cooking process determines whether your roti turns soft or hard.
Here’s how to do it:

- Heat your tawa or griddle on medium-high flame. It should be hot but not smoking.
- Place the rolled roti on the tawa. Wait for small bubbles to appear (about 20–30 seconds).
- Flip it with tongs and cook the other side until you see light brown spots.
- Flip again and gently press with a clean cloth or spatula. The roti should puff up beautifully.
- Cook for another few seconds until both sides are evenly cooked.
Important: Avoid overcooking—this is the number one reason rotis turn hard. Each roti should take no more than 1 to 1.5 minutes total.
Optional: For an extra puff, you can place the roti directly on the open flame for a few seconds after the tawa step. It will inflate like a balloon!
Step 5: Keep Rotis Soft and Warm
Once cooked, immediately transfer your roti to a container lined with a clean cotton or muslin cloth. Cover it with another cloth to trap steam. This step is crucial—it keeps the rotis soft even without oil.
If you’re making a large batch:
- Stack them in a roti box or casserole lined with cloth.
- Avoid stacking hot rotis without ventilation—too much steam can make them soggy.
Before serving, if needed, you can lightly sprinkle a few drops of warm water and reheat the rotis on the tawa for a few seconds.
Pro Tip: Never refrigerate uncooked dough for more than 24 hours—it loses elasticity and makes rotis stiff.

Bonus Tips for Soft, Oil-Free Rotis
- Use warm water, not cold: It hydrates the flour better, leading to a softer texture.
- Knead well: Soft dough equals soft rotis—don’t rush this step.
- Rest the dough: Skipping this makes rotis chewy.
- Cook on medium-high flame: Too low will dry them out, too high will burn them.
- Store properly: Keep covered in a cloth-lined container to lock in steam.
Nutritional Benefits
Making rotis without oil not only reduces calories but also enhances digestibility.
- Whole Wheat Flour: Provides complex carbs, fiber, and B-vitamins.
- No Oil: Keeps the meal light and heart-friendly.
- Perfect for: Diabetic-friendly diets, weight management, and everyday healthy eating.
Each oil-free roti (about 40g) contains roughly:
- Calories: 100–110
- Protein: 3g
- Fiber: 2g
- Fat: 0–1g
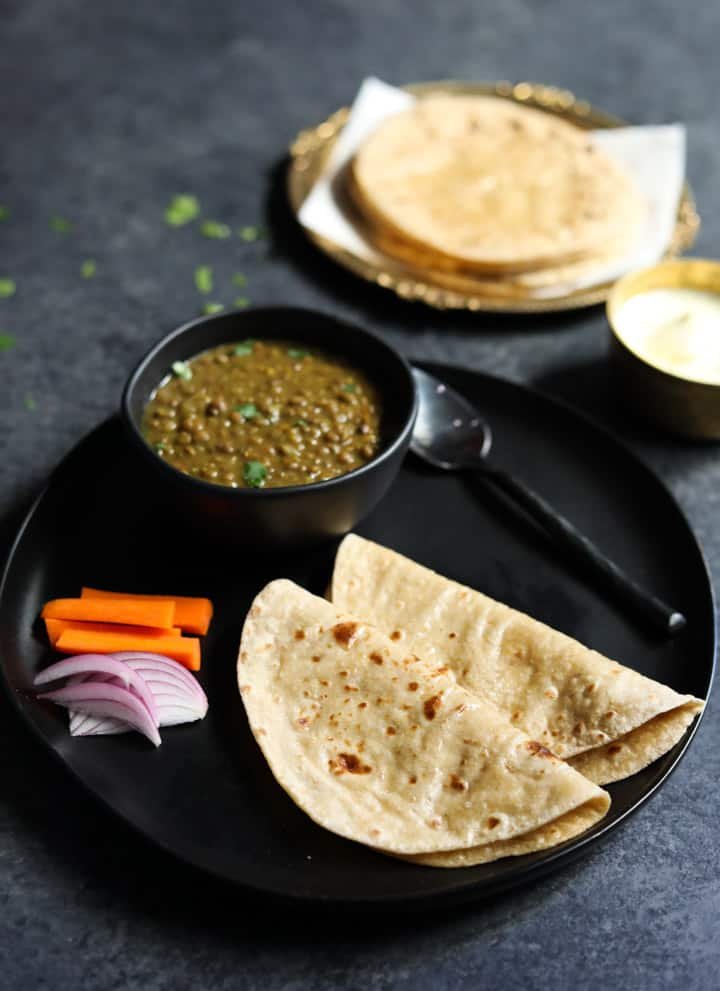
Pair your soft, fluffy rotis with dal, sabzi, or curd for a balanced meal that nourishes without adding excess fat.
Final Thoughts
Mastering soft, oil-free rotis is all about technique—not shortcuts. The key lies in the dough’s texture, proper resting, and careful cooking on the tawa. Once you practice these five steps a few times, you’ll never need to rely on oil or ghee for softness again.
Your rotis will be light, puffy, and tender—just like the ones from your favorite homemade meal. Whether you’re cooking for health reasons or simply love the satisfaction of wholesome food, this oil-free roti recipe is a must-have in your kitchen repertoire.
So roll up your sleeves, heat that tawa, and enjoy the art of making perfectly soft rotis—naturally, without a single drop of oil!
