
Onions are a kitchen staple worldwide — used in curries, soups, salads, and countless recipes. But buying onions regularly can be expensive, and store-bought onions may be treated with chemicals or preservatives. Imagine if you could grow your own onions at home, from just the bottom part of an onion, producing multiple new onions for continuous use.
The YouTube video “Never buy onions again | How to grow many onions from an onion bottom at home” shows a simple and highly effective technique for onion propagation that even beginners can try. With this method, you can turn one onion into several, saving money and ensuring fresh, organic onions year-round.
This blog will guide you step by step on how to grow onions at home using onion bottoms, including preparation, planting, care, harvesting, and tips for maximum yield.
Why Grow Onions at Home
Growing onions at home has several benefits:
Cost-effective: No need to buy onions from the market.
Fresh and organic: Control your inputs and avoid chemicals.
Space-efficient: Suitable for terraces, balconies, or small backyard gardens.
Continuous harvest: With proper care, you can harvest repeatedly.
Fun and educational: Great project for kids and gardening beginners.
Even with limited space, you can enjoy a steady supply of fresh onions using this method.
Step 1: Selecting Onions for Regrowth
The first step is choosing the right onions to propagate:
Tips for selecting onions:
- Choose healthy, firm onions without soft spots or rot.
- Larger onions tend to produce more and bigger bulbs.
- Organic onions are preferable for chemical-free regrowth.
- Avoid onions that are already sprouting excessively or damaged.
Selecting healthy onions ensures strong, productive new plants.

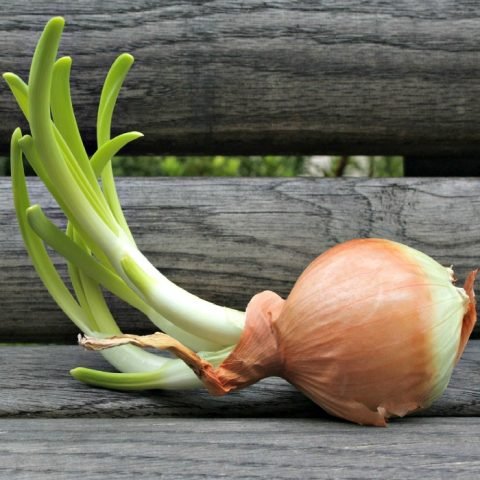
Step 2: Preparing the Onion Bottom
The unique hack in this method is using the bottom part of the onion to grow new bulbs:
Steps:
- Cut the bottom 2–3 cm of the onion, making sure the roots are intact.
- Place the onion bottoms in water or directly in soil for regrowth.
- If using water, place them in a shallow container with the cut side down. Change water every 2–3 days.
Within a week, you will notice new roots and shoots emerging, signaling the onion is ready for planting.
Step 3: Choosing a Container or Garden Bed
Onions can grow in containers, grow bags, or traditional garden beds.
Container options:
- Medium to large pots with drainage holes
- Recycled crates or plastic tubs
- Terrace boxes for multiple onions
Key points:
- Ensure containers have drainage holes to prevent waterlogging.
- Use containers at least 6–8 inches deep to allow bulbs to develop.
- Maintain spacing between containers for sunlight and airflow.
Containers make it easy for urban gardeners to grow onions without a traditional garden.
Step 4: Preparing the Soil
Onions thrive in well-draining, nutrient-rich soil.
Recommended soil mix:

- 50% garden soil or loamy soil
- 30% compost or well-rotted manure
- 20% sand or perlite for drainage
Tips:
- Mix compost thoroughly to provide continuous nutrients.
- Add a little bone meal to promote strong root and bulb growth.
- Avoid compacted soil that can restrict root expansion.
Healthy soil ensures fast growth, big bulbs, and multiple shoots.
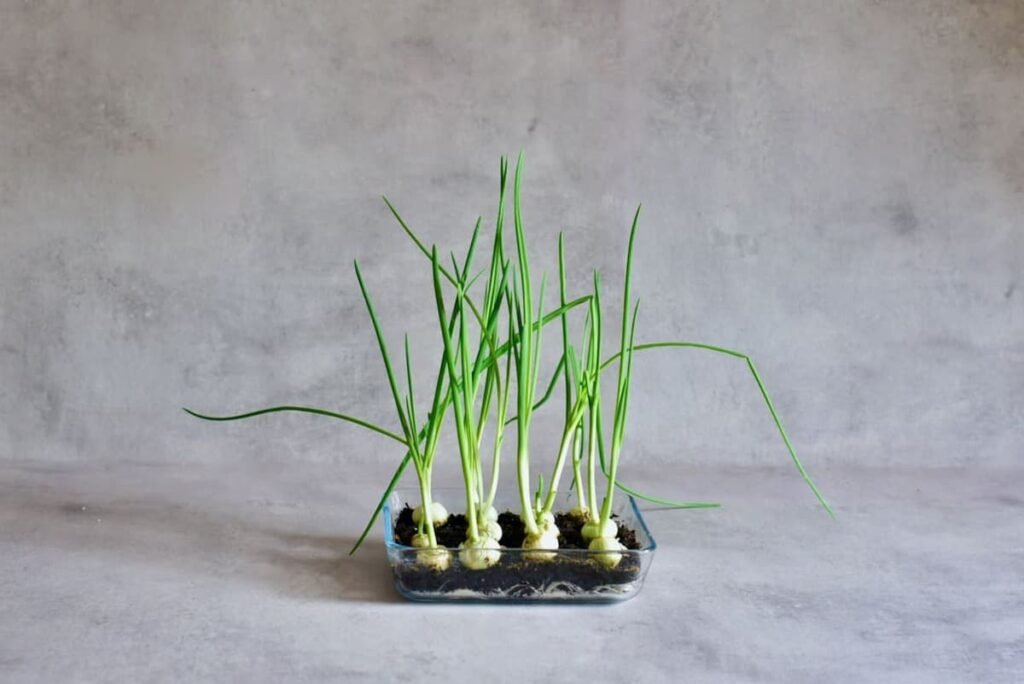
Step 5: Planting Onion Bottoms
Once roots and shoots appear, it’s time to plant the onion bottoms:
- Fill containers or garden beds with prepared soil.
- Make a small hole slightly larger than the onion bottom.
- Place the bottom in the hole, with shoots facing upward.
- Cover lightly with soil and water gently.
Spacing tips:
- Plant onion bottoms 4–6 inches apart to allow each plant to grow fully.
- Thin overcrowded plants later to ensure optimal growth.
Step 6: Watering and Moisture Management
Onions require consistent moisture, especially during the initial growth stage:
- Water lightly every 2–3 days, keeping soil damp but not soggy.
- Mulch the soil with straw or dry leaves to retain moisture and prevent weeds.
- Avoid overwatering, which may cause root rot or fungal infections.
Proper watering encourages strong roots, large bulbs, and healthy shoots.
Step 7: Fertilization and Nutrient Care
Onions are heavy feeders, and regular fertilization promotes vigorous growth and bigger bulbs.
Fertilization tips:
- Use nitrogen-rich fertilizer for leafy growth during early stages.
- Apply phosphorus-rich fertilizer when shoots are established to strengthen roots.
- Use potassium-rich fertilizer during bulb formation for better size and flavor.
Organic alternatives:

- Vermicompost or liquid compost every 2 weeks
- Cow dung slurry or neem cake for balanced nutrients
- Banana peel powder for potassium
Balanced nutrition ensures high yield from each onion bottom.
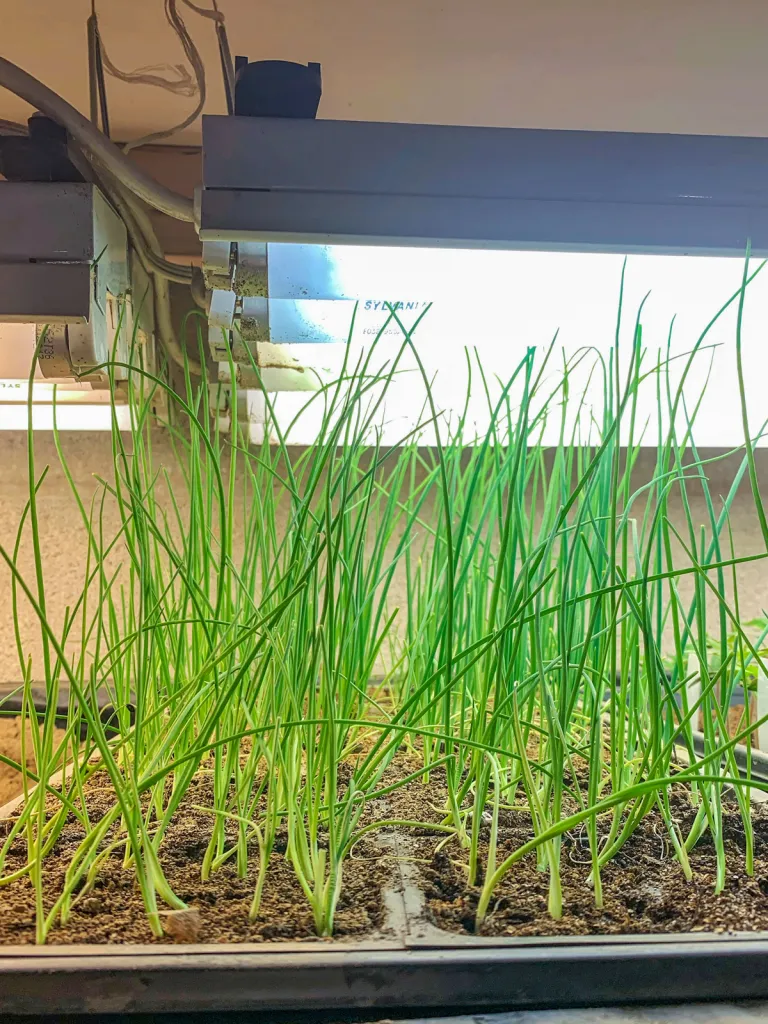
Step 8: Sunlight and Temperature Requirements
Onions need full sunlight and moderate temperatures for optimal growth:
- Ideal daytime temperature: 18–28°C (65–82°F)
- Nighttime temperature: 12–18°C (55–65°F)
- Minimum of 6 hours of sunlight daily
Tips:
- For terrace gardening, place containers in sunny areas.
- Indoors, use a south-facing window or grow lights for sufficient light exposure.
Sunlight is crucial for leaf development and bulb growth.
Step 9: Pest and Disease Management
Onions are susceptible to pests like onion flies, aphids, and thrips and fungal diseases.
Organic management tips:
- Spray neem oil or garlic-chili solution to deter pests.
- Remove yellow or diseased leaves immediately.
- Maintain spacing for air circulation to reduce fungal infections.
- Avoid overwatering to prevent root diseases.
Healthy plants lead to multiple new bulbs and strong leaves.
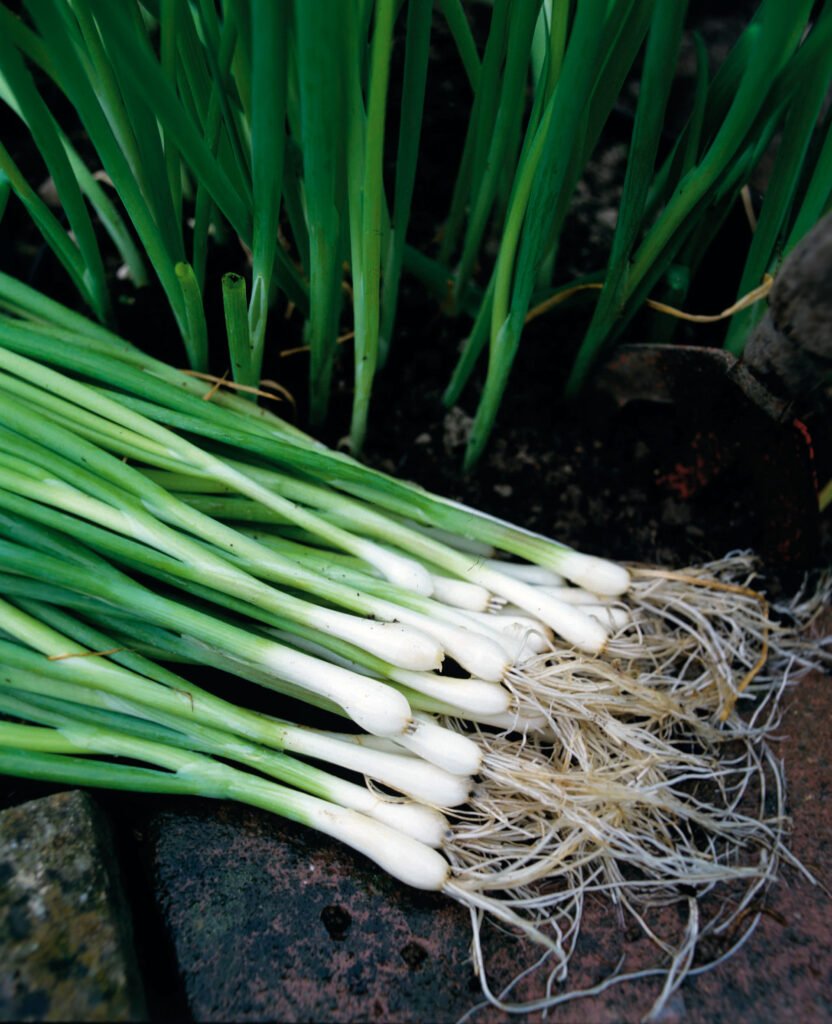
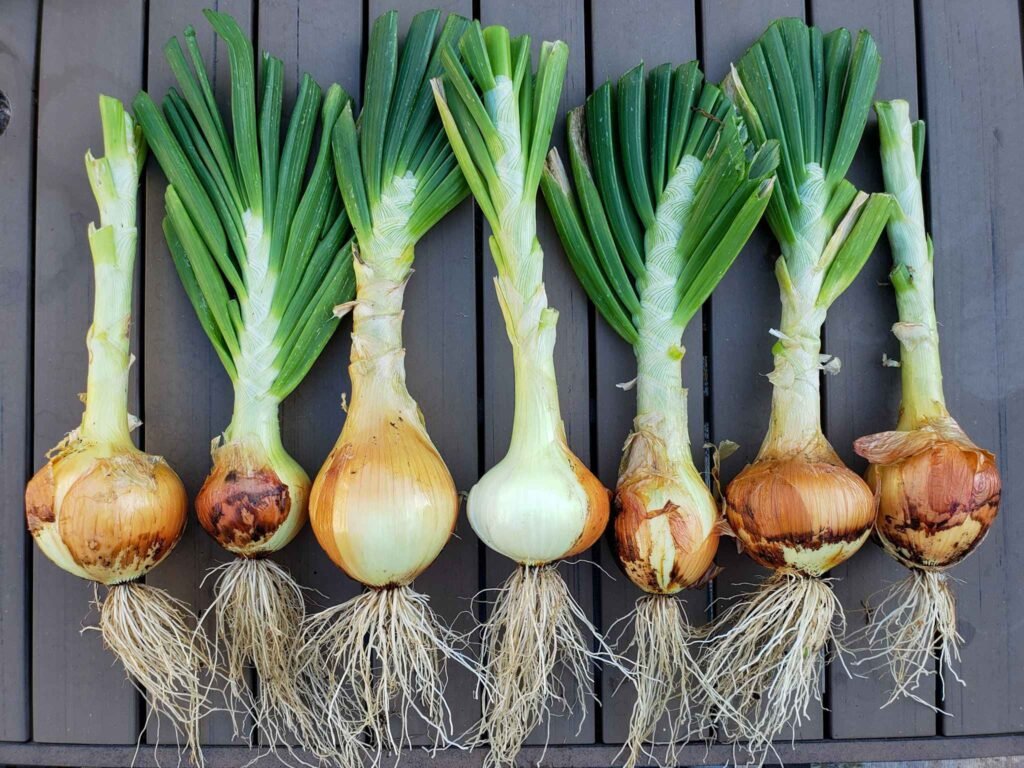
Step 10: Harvesting Onions
Onions grown from bottoms can be harvested in 60–90 days depending on growth conditions:
- Leaves: Can be harvested as green onions when 6–8 inches tall.
- Bulbs: Harvest when the tops turn yellow and begin to fall over.
- Gently lift bulbs from soil and allow them to dry in a ventilated area.
Harvesting at the right time ensures large, flavorful bulbs and continuous green shoots.

Step 11: Replanting for Continuous Supply
One of the biggest advantages of this method is reusing onion bulbs for regrowth:
- Separate large, healthy bulbs for the next planting cycle.
- Repeat the process with new containers or beds.
- This allows a continuous supply of onions and greens throughout the year.
With proper care, one onion can produce several new bulbs and leaves in successive cycles.
Step 12: Advantages of Onion Bottom Gardening
This method of onion propagation offers several unique benefits:
Cost-effective: Produce many onions from a single bulb.
Space-saving: Ideal for terraces, balconies, or kitchen windows.
Low-maintenance: Requires minimal care once planted.
Chemical-free: Grow organic onions and leaves at home.
Continuous harvest: Replant bulbs for year-round supply.
Even urban gardeners with limited space can enjoy fresh onions at home.
Step 13: Culinary and Health Benefits
Homegrown onions are versatile and nutritious:
Leaves: Can be used like scallions in salads, soups, and stir-fries.
Bulbs: Perfect for cooking, pickling, or making onion paste.
Health benefits:
- Rich in antioxidants and vitamins
- Supports heart health and improves digestion
- Boosts immunity and reduces inflammation
- Adds flavor without extra calories
Fresh, homegrown onions are tastier and healthier than store-bought alternatives.

Step 14: Tips for Maximum Yield
- Use healthy, firm onion bottoms for planting.
- Maintain consistent moisture without waterlogging.
- Provide at least 6 hours of sunlight daily.
- Fertilize regularly with organic nutrients.
- Harvest leaves early to encourage more growth.
- Monitor for pests and diseases and act quickly.
Following these tips ensures many bulbs, large leaves, and year-round onion supply.
Conclusion: Never Buy Onions Again
The YouTube video “Never buy onions again | How to grow many onions from an onion bottom at home” shows that onion gardening can be simple, space-efficient, and highly productive.
By following these steps — selecting healthy onions, preparing bottoms, planting in containers, providing proper care, and harvesting at the right time — anyone can enjoy fresh, organic, and abundant onions at home.
Start today and transform your kitchen into a self-sufficient onion garden, saving money and enjoying the satisfaction of growing your own food.