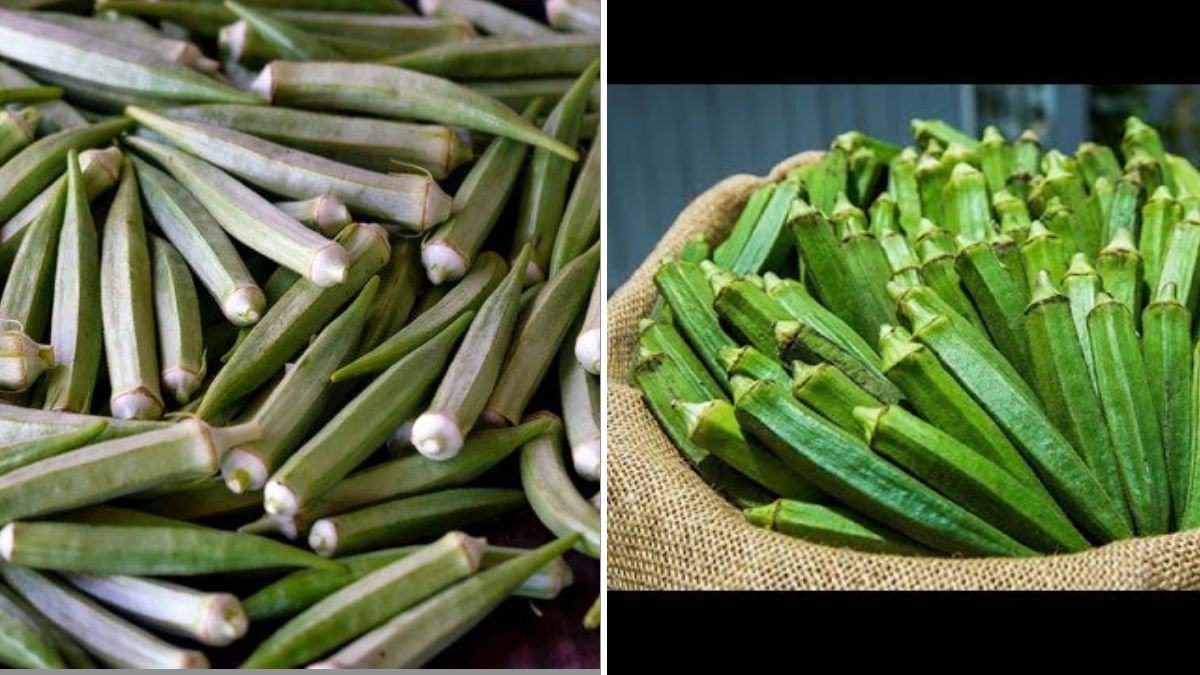
Okra, also known as lady’s finger, is a nutritious and versatile vegetable commonly used in soups, stews, and curries. While many gardeners struggle with slow growth or low yields, the YouTube video “THE FASTEST WAY TO GROW OKRA NOBODY TALKS ABOUT” reveals little-known techniques to grow okra faster, healthier, and more abundantly.
This method is ideal for busy gardeners, urban terrace growers, and beginners who want quick, high-yielding okra plants without waiting for months. In this blog, we’ll cover step-by-step instructions from seed selection to harvesting, including soil preparation, container options, watering, fertilization, and tips for maximizing yield.
Why Grow Okra at Home
Homegrown okra offers multiple benefits:
Fresh and nutritious: Picked straight from your garden for maximum flavor and nutrition.
Cost-effective: Avoid frequent market purchases.
Organic and chemical-free: You control the inputs, ensuring safe consumption.
Space-efficient: Grows well in containers, raised beds, or terraces.
Fast-growing: Using the right techniques, you can enjoy harvests in record time.
Even with limited space, you can achieve a steady supply of fresh okra using these fast-growth techniques.
Step 1: Choosing the Right Okra Variety
Choosing the right variety is crucial for fast growth and high yield.
Recommended okra varieties:
- Clemson Spineless: Popular, fast-growing, and high-yielding.
- Ankur Hybrid: Compact plant suitable for container gardening.
- Naspur: Large pods and rapid growth in warm climates.
- Pusa Sawani: Resistant to pests and diseases, ideal for home gardens.
Tips:

- Select seeds from reputable suppliers for high germination rates.
- Consider compact or dwarf varieties for container or terrace gardening.
- Choose disease-resistant varieties for minimum maintenance.
Step 2: Preparing Soil for Rapid Growth
Okra thrives in fertile, well-draining soil rich in nutrients.
Soil mix for fast-growing okra:
- 40% garden soil or loamy soil
- 30% compost or well-rotted manure
- 20% sand or perlite for drainage
- 10% coco peat or peat moss for moisture retention
Tips:
- Ensure soil is loose and well-aerated to support fast root growth.
- Add bone meal or organic fertilizer to encourage robust development.
- Avoid compacted soil, which can stunt growth and reduce yield.
Step 3: Sowing Okra Seeds
Starting okra from seeds allows you to control growth conditions and speed up harvests.
Steps for sowing seeds:
- Soak okra seeds in lukewarm water for 6–12 hours to boost germination.
- Sow seeds 1 inch deep in seed trays, small pots, or directly in containers.
- Keep soil moist and warm; germination occurs in 7–12 days.
- Thin seedlings to 8–12 inches apart to allow proper airflow and growth.
Pro Tip: Pre-soaking seeds is one of the fastest ways to ensure early sprouting, which reduces overall growth time.
Step 4: Choosing the Right Containers

Okra grows well in containers if provided enough depth and space for roots:
Container options:

- Large pots or grow bags (12–16 inches deep)
- Raised terrace boxes
- Recycled plastic tubs or crates
Key points:
- Ensure containers have drainage holes.
- Use deep containers for long taproots to develop fully.
- Maintain spacing between containers for sunlight and airflow.
Proper containers are essential for fast-growing, strong okra plants.
Step 5: Sunlight and Temperature Requirements
Okra is a warm-season vegetable and grows fastest under ideal conditions:
- Ideal daytime temperature: 25–35°C (77–95°F)
- Nighttime temperature: 18–22°C (65–72°F)
- Requires 6–8 hours of direct sunlight daily
Tips:
- In hot climates, provide partial shade during the hottest afternoon hours.
- In cooler climates, use greenhouse covers or clear plastic sheets to maintain warmth.
Sunlight and temperature are critical factors for rapid germination, flowering, and pod development.
Step 6: Watering for Fast Growth
Okra requires consistent but moderate watering:
- Water deeply 2–3 times per week, depending on weather.
- Avoid overwatering; soggy soil can slow growth or cause root rot.
- Mulch around plants to retain soil moisture and regulate temperature.
Pro Tip: Using self-watering containers or drip irrigation ensures consistent moisture without daily effort.
Step 7: Fertilization for Maximum Yield
Okra is a heavy feeder, and proper nutrition accelerates growth:

- Vegetative stage: Use nitrogen-rich fertilizer for lush green leaves.
- Flowering stage: Apply phosphorus-rich fertilizer to support bud formation.
- Fruiting stage: Use potassium-rich fertilizer for larger, healthy pods.
Organic alternatives:
- Vermicompost every 2 weeks
- Liquid compost or manure slurry
- Banana peel powder for potassium
Balanced fertilization ensures faster growth, larger pods, and higher yield.
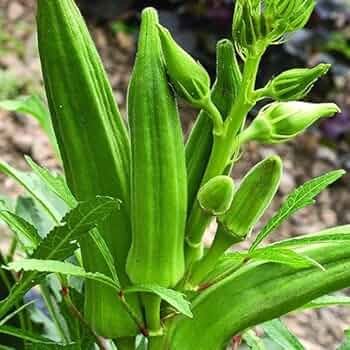
Step 8: Supporting Okra Plants
Tall okra plants may need support to prevent bending or breaking under the weight of pods:
- Use bamboo sticks or stakes for vertical support.
- Tie branches loosely with soft strings to avoid damage.
- Maintain spacing to improve airflow and sunlight exposure.
Support helps plants grow stronger and faster, ensuring continuous flowering and pod production.
Step 9: Pest and Disease Management
Okra can be attacked by aphids, caterpillars, and powdery mildew.
Management strategies:
- Spray neem oil weekly to repel pests.
- Remove yellow or damaged leaves promptly.
- Maintain spacing and airflow to reduce fungal infections.
- Avoid waterlogging to prevent root rot.
Healthy plants lead to faster growth and more abundant harvests.
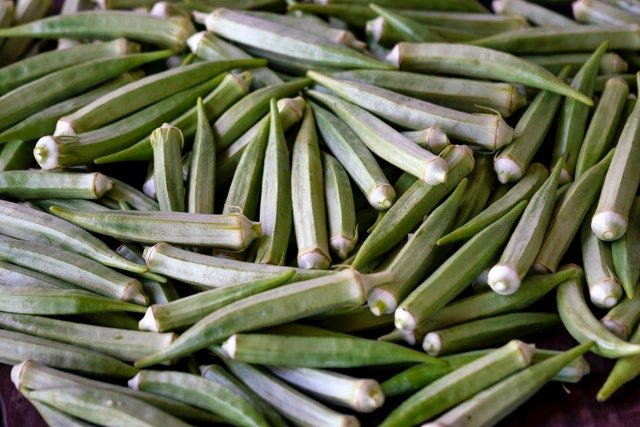
Step 10: Harvesting Okra

Okra grows quickly and can be harvested within 50–60 days of sowing, depending on variety:

- Pick pods when they are 3–5 inches long for the best taste and texture.
- Harvest frequently; this encourages continuous flowering and pod production.
- Use scissors or a sharp knife to cut pods without damaging the plant.
Frequent harvesting is key to maximizing yield and promoting faster regrowth.
Step 11: Advantages of Fast-Growth Techniques
Following the “fastest way” method offers several benefits:
Rapid harvest: Enjoy okra in 50–60 days instead of waiting longer.
High yield: Proper fertilization, sunlight, and care produce more pods.
Space-efficient: Grow in containers or small terrace gardens.
Low maintenance: Minimal effort with high rewards.
Continuous supply: Frequent harvesting encourages ongoing pod production.
Even beginner gardeners can achieve fast, bountiful okra harvests..
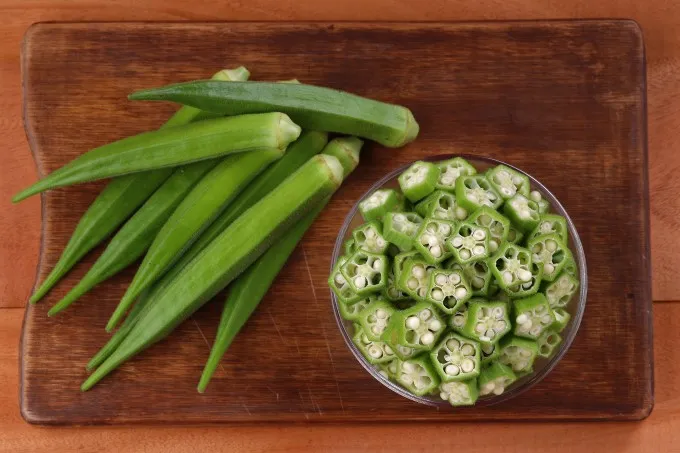
Step 12: Culinary and Health Benefits of Okra
Homegrown okra is fresh, nutritious, and versatile:
Use in soups, stews, and curries
Stir-fry with vegetables and spices
Add to smoothies or juice for fiber and nutrients
Serve as a healthy snack, roasted or grilled
Health benefits:
- Rich in vitamins A, C, and K
- High in fiber and antioxidants
- Supports digestion and heart health
- Boosts immunity and reduces inflammation
Fresh, homegrown okra is healthier and tastier than store-bought alternatives.

Step 13: Tips for Maximum Success
- Pre-soak seeds to speed up germination.
- Use nutrient-rich, loose soil for faster root growth.
- Maintain consistent moisture without waterlogging.
- Provide 6–8 hours of sunlight daily.
- Fertilize at each growth stage with balanced nutrients.
- Stake or support tall plants to avoid breakage.
- Harvest pods frequently to encourage continuous production.
These tips ensure rapid growth, strong plants, and abundant harvests.
Conclusion: Grow Okra Faster and Abundantly
The YouTube video “THE FASTEST WAY TO GROW OKRA NOBODY TALKS ABOUT” demonstrates that with the right techniques, okra cultivation can be fast, productive, and easy.
By following these steps — selecting the right variety, pre-soaking seeds, preparing nutrient-rich soil, using containers, ensuring sunlight and moisture, fertilizing appropriately, and supporting plants — anyone can enjoy fresh, homegrown okra in record time.
Start applying these tips today and experience the joy of fast, abundant okra harvests right in your garden or terrace!