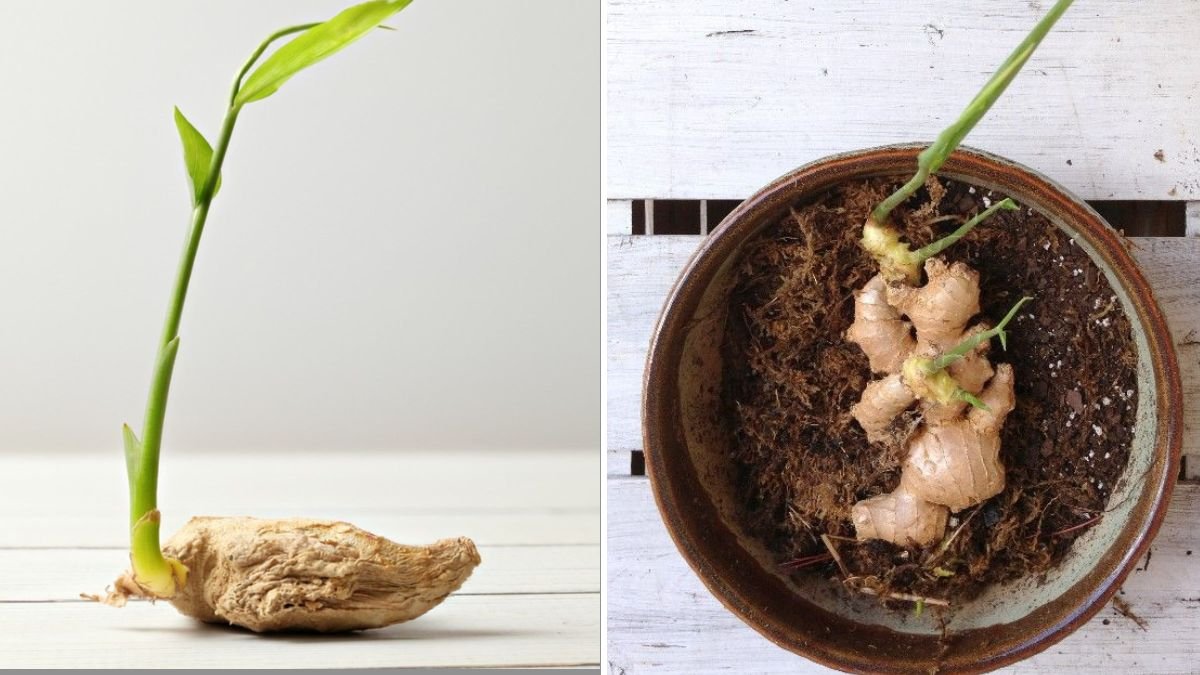
Ginger is one of the most versatile and healthy spices used worldwide. From cooking delicious meals to making tea and boosting immunity, ginger is a staple in every kitchen. But did you know you can grow fresh ginger at home from store-bought ginger roots? The YouTube video “How to Grow Ginger From STORE Bought Ginger in Containers” demonstrates a simple, practical method that anyone can use, whether you live in an apartment, on a terrace, or have a backyard.
This blog post will guide you through everything you need to know to grow ginger in containers, from selecting the right ginger root to harvesting lush, aromatic rhizomes. You’ll learn tips for fast growth, healthy roots, and continuous harvesting.
Why Grow Ginger at Home
Growing ginger at home has numerous benefits:
Fresh and chemical-free: Control inputs to ensure safe, organic growth.
Cost-effective: Save money by regrowing ginger from store-bought roots.
Space-saving: Perfect for container or terrace gardening.
Year-round harvest: With proper care, ginger can produce rhizomes continuously.
Therapeutic and aromatic: Fresh ginger is healthier and more flavorful than store-bought.
Even with limited space, you can enjoy a steady supply of fresh ginger without relying on grocery stores.
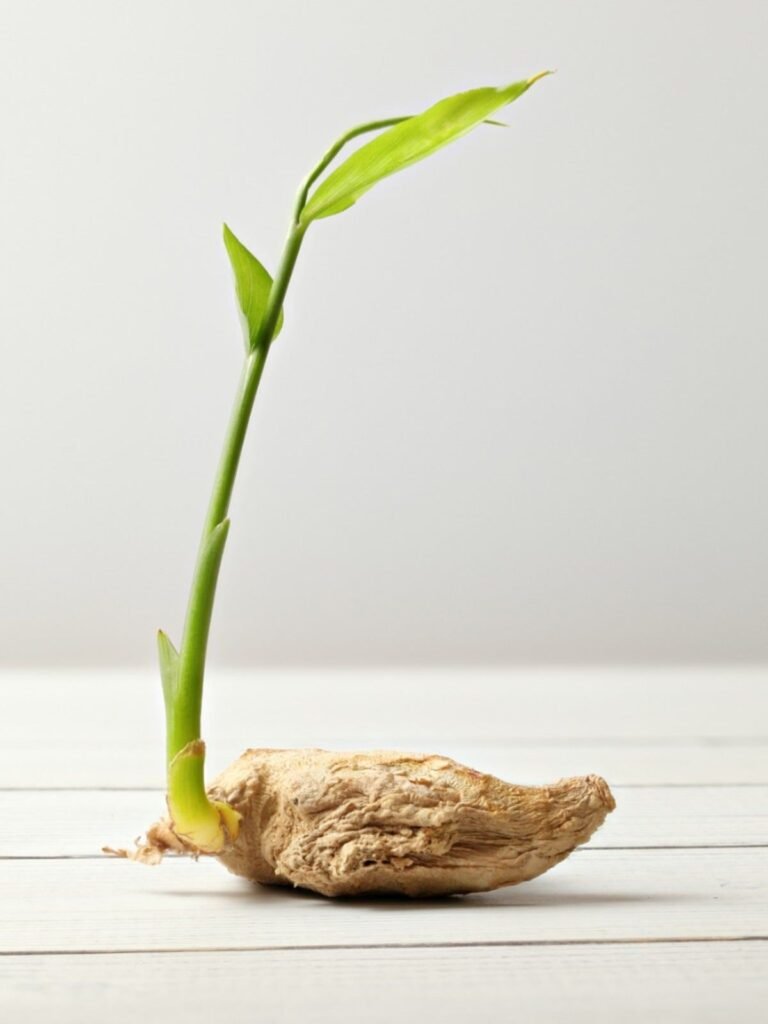
Step 1: Selecting the Right Ginger Root
The first step is choosing the perfect ginger for planting:
Tips for selecting ginger:
- Pick a healthy, plump, firm ginger root from the store.
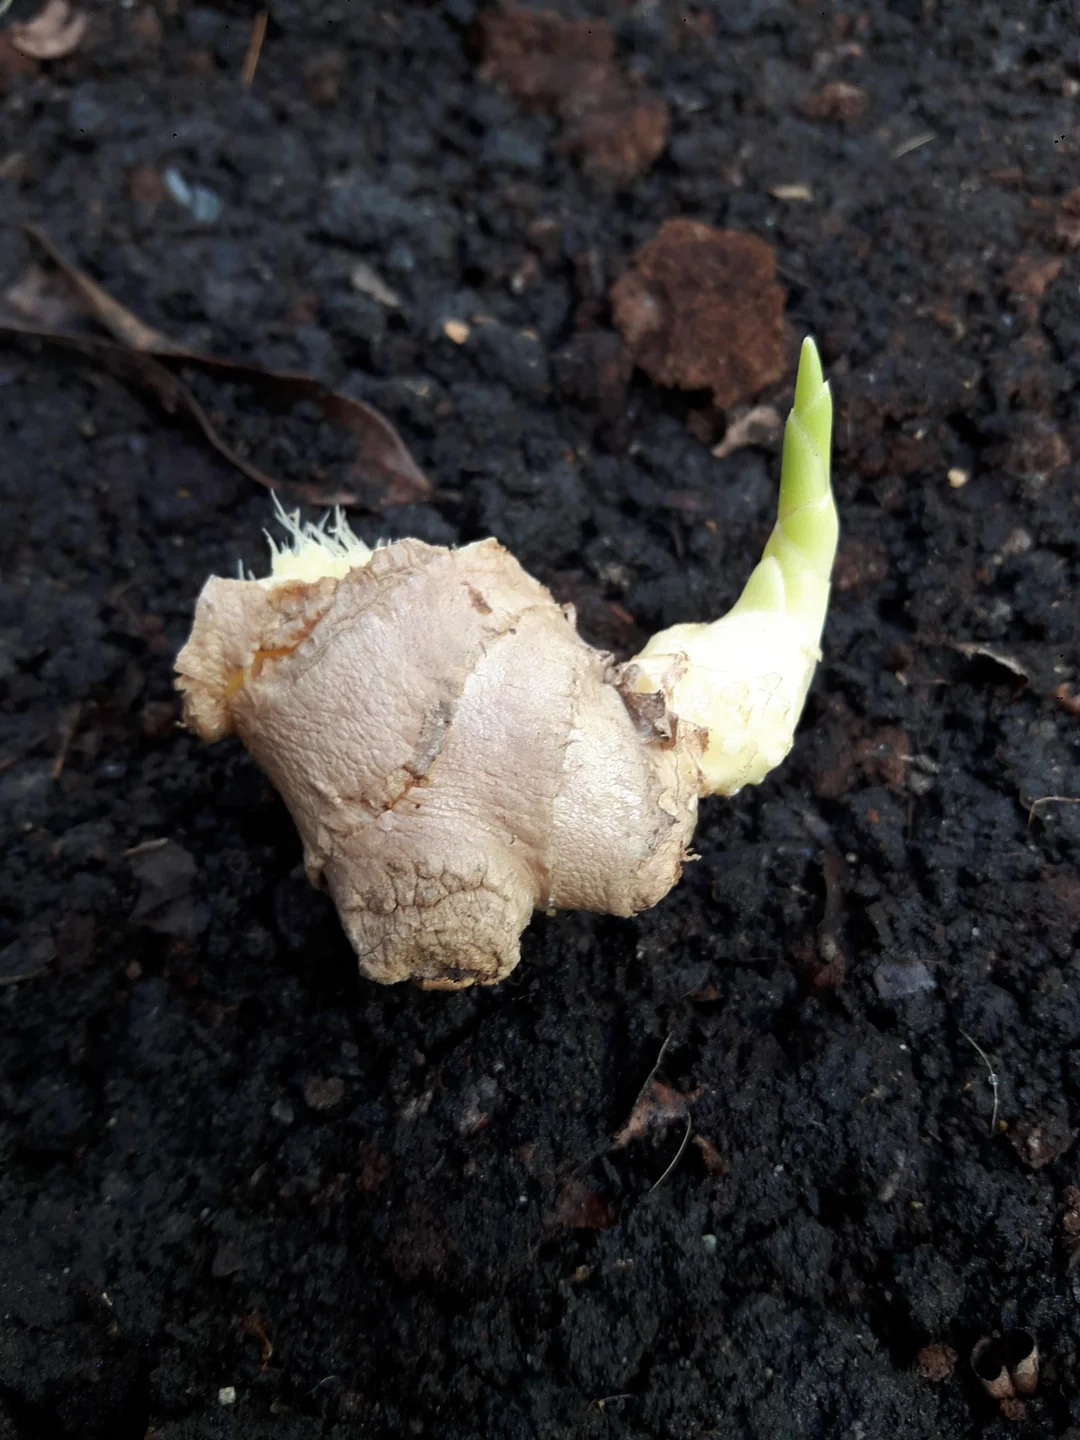
- Look for roots with visible eyes or small buds, as these are points where new growth emerges.
- Avoid wrinkled, soft, or moldy ginger roots.
- Organic ginger is preferable for chemical-free propagation.
Healthy ginger roots are crucial for fast, robust growth and high yield.

Step 2: Preparing the Ginger Root
Proper preparation sets the foundation for successful growth:
Steps:
- Break the ginger root into small pieces, each with at least one or two buds.
- Let the pieces dry for a day to form a protective layer over the cut surfaces; this helps prevent rot.
- Soak the ginger pieces in lukewarm water for 2–4 hours to encourage sprouting (optional but recommended).
Well-prepared ginger ensures healthy shoots and vigorous roots.
Step 3: Choosing the Right Container
Ginger grows best in containers that provide space, drainage, and aeration:
Container options:
- Large plastic or ceramic pots (12–16 inches deep)
- Grow bags or recycled crates
- Terrace or balcony boxes
Key points:
- Ensure containers have drainage holes to prevent waterlogging.
- Use a wide and deep container as ginger spreads horizontally and vertically.
- Avoid very small pots, as they restrict root growth and reduce yield.
Step 4: Preparing the Soil
Ginger requires loose, fertile, well-draining soil to grow quickly:
Soil mix for container ginger:

- 40% garden soil or loam
- 30% compost or well-rotted manure
- 20% sand or perlite for drainage
- 10% coco peat or peat moss for moisture retention
Tips:
- Mix soil thoroughly to provide consistent nutrients.
- Add a little bone meal or rock phosphate to support root development.
- Avoid compacted or clay-heavy soil; ginger thrives in light and aerated soil.
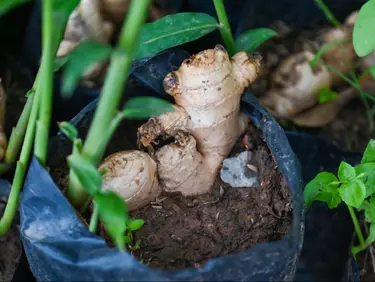
Step 5: Planting Ginger
Planting ginger properly ensures strong growth and abundant rhizomes:
Steps:
- Fill the container with the prepared soil, leaving 1–2 inches at the top.
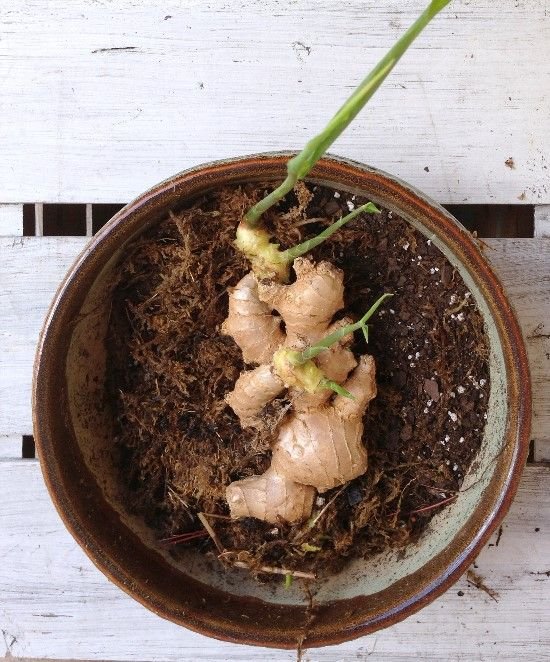
- Place the ginger pieces horizontally, with buds facing upward.
- Cover lightly with 1–2 inches of soil; don’t bury them too deep.
- Water gently to moisten the soil without soaking it.
Spacing tips:
- In larger containers, plant multiple pieces 4–6 inches apart.
- Ensure each piece has enough space to spread and form healthy rhizomes.
Step 6: Sunlight and Temperature Requirements
Ginger is a tropical plant and prefers warm, humid conditions:
- Ideal temperature: 20–30°C (68–86°F)
- Indirect sunlight or partial shade works best; too much direct sunlight can scorch leaves.
- Indoors, place containers near a bright window or under grow lights.
Proper sunlight and warmth accelerate sprouting and leaf growth, leading to faster rhizome development.
Step 7: Watering Ginger
Ginger requires consistent moisture, especially during sprouting and early growth:
- Water lightly but regularly, keeping the soil moist but not waterlogged.
- Avoid overwatering, as stagnant water can lead to rot.
- Mulch with straw or dry leaves to retain moisture and regulate temperature.
Pro Tip: Check soil with your finger; if the top inch is dry, it’s time to water.

Step 8: Fertilization and Nutrient Care
Fertilizing ginger helps produce larger leaves and healthy rhizomes:
- Early growth: Use nitrogen-rich fertilizers to encourage lush foliage.
- Mid-stage growth: Add phosphorus for strong root development.
- Rhizome formation: Use potassium-rich fertilizers to increase size and flavor.
Organic alternatives:
- Vermicompost every 2–3 weeks
- Liquid compost tea for fast nutrient uptake
- Banana peel powder for potassium
Balanced fertilization ensures quick growth and abundant harvests.
Step 9: Supporting Ginger Plants
Ginger naturally spreads horizontally and vertically:
- Container sides act as natural support.
- Avoid overcrowding; give each piece room to grow thick and healthy rhizomes.
- Thin out weak shoots to focus nutrients on stronger plants.
Proper support ensures healthy, rapid growth and high yield.
Step 10: Pest and Disease Management
Ginger is generally hardy, but it can face:
- Root rot from overwatering
- Aphids or mites on leaves
- Fungal infections in humid conditions
Management tips:
- Maintain proper spacing and avoid waterlogging.
- Spray neem oil or mild organic solutions if pests appear.
- Remove damaged or yellowing leaves promptly.
Healthy plants produce large rhizomes and robust leaves quickly.

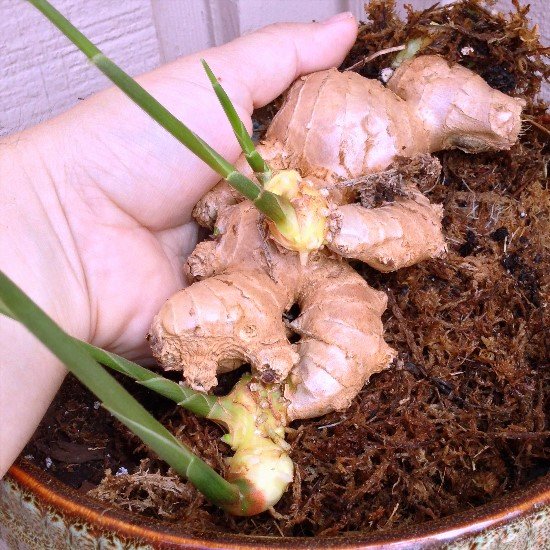
Step 11: Harvesting Ginger
Ginger can be harvested 8–10 months after planting, but young ginger can be picked after 3–4 months for tender rhizomes:
- Use a fork or hand tool to gently lift rhizomes from the soil.
- Wash and dry rhizomes before storage.
- Replant some pieces to continue growing fresh ginger.
Frequent harvesting encourages new growth and allows you to enjoy ginger year-round.
Step 12: Advantages of Growing Ginger in Containers
Growing ginger from store-bought roots in containers offers many benefits:
Space-saving: Perfect for balconies, terraces, and indoor gardening.
Cost-effective: Multiply your ginger supply from a single root.
Chemical-free: Grow organic ginger at home.
Year-round growth: Continuous harvesting of young and mature rhizomes.
Therapeutic and flavorful: Enjoy fresh ginger in your kitchen anytime.
Even urban gardeners with minimal space can grow ginger successfully at home.
Step 13: Culinary and Health Benefits
Homegrown ginger is fresh, aromatic, and packed with nutrients:
Use in cooking curries, stir-fries, and soups
Make ginger tea for immunity and digestion
Blend into smoothies or juices for health benefits
Add fresh slices to salads or marinades
Health benefits:

- Improves digestion and boosts immunity
- Anti-inflammatory and antioxidant properties
- Supports heart health and reduces nausea
- Adds flavor naturally without extra calories
Fresh homegrown ginger is healthier, tastier, and more aromatic than store-bought varieties.
Step 14: Tips for Maximum Success
- Choose healthy, firm store-bought ginger with visible buds.
- Plant in loose, nutrient-rich soil for fast root growth.
- Provide partial sunlight and warm temperatures.
- Water consistently but avoid waterlogging.
- Fertilize every 2–3 weeks for optimal growth.
- Harvest young ginger for tender rhizomes and mature ginger for storage.
- Replant some rhizomes to maintain a continuous supply.
Following these tips ensures fast, abundant growth and continuous harvest.
Conclusion: Grow Ginger from Store-Bought Roots at Home
The YouTube video “How to Grow Ginger From STORE Bought Ginger in Containers” shows that growing ginger at home is simple, cost-effective, and highly rewarding.
By selecting healthy roots, preparing containers and soil, providing proper sunlight, water, and nutrients, and harvesting carefully, anyone can enjoy fresh, aromatic ginger at home year-round.
Start today and turn your store-bought ginger into a thriving home garden treasure!