
Pizza lovers, rejoice! You don’t need a fancy oven or expensive gadgets to enjoy a piping-hot, cheesy veg pizza. If you have a tawa (flat skillet), fresh ingredients, and a pinch of patience, you can create restaurant-style pizza right in your kitchen. In this article, we’ll guide you through 6 simple steps to make veg pizza on a tawa, perfect for busy American households looking for a quick, homemade, and wallet-friendly meal.
Whether you’re a college student, a busy parent, or a foodie craving comfort food, this step-by-step guide will ensure your pizza is crispy, cheesy, and loaded with fresh veggies—all without preheating an oven. Let’s dive in!
Step 1: Gather Fresh Ingredients
Every great pizza starts with fresh ingredients. Here’s a quick list of what you’ll need for a simple veg pizza:
- For the dough:
- 1 cup all-purpose flour (or whole wheat for a healthier twist)
- 1 tsp instant yeast
- ½ tsp sugar
- ½ tsp salt
- ½ cup warm water
- 1 tsp olive oil
- For the toppings:
- ½ cup tomato sauce or pizza sauce
- 1 cup shredded mozzarella cheese
- ½ cup chopped bell peppers (red, green, yellow)
- ½ cup sliced onions
- ½ cup sliced mushrooms
- ½ cup sweet corn
- Fresh basil leaves or oregano for flavor
- Optional spices:
- Black pepper
- Red chili flakes
- Garlic powder
Pro Tip: Always choose fresh, colorful vegetables. They not only enhance taste but also make your pizza Instagram-worthy!

Step 2: Prepare the Dough

The perfect pizza base starts with well-prepared dough. Here’s a quick method to get it soft and stretchy:
- In a small bowl, mix warm water, sugar, and yeast. Let it sit for 5-10 minutes until frothy.
- In a larger bowl, combine flour and salt.
- Add the yeast mixture and olive oil to the flour.
- Knead for 5-7 minutes until the dough is smooth and elastic.
- Cover with a damp cloth and let it rise for 30-45 minutes until doubled in size.
Tip: If you’re in a hurry, use store-bought pizza dough or whole wheat tortillas. They save time without compromising taste.
Step 3: Roll the Dough on a Tawa
Once your dough has risen, it’s time to roll it out. Unlike an oven pizza, tawa pizza requires a thin and even base for proper cooking.
- Dust your counter or rolling surface with flour.
- Divide the dough into 2-3 portions.
- Roll out one portion into a circle or rectangle, about ½ cm thick.
- Heat the tawa on medium flame and lightly grease it with oil or butter.
Pro Tip: Avoid high heat; it may burn the base before the toppings are cooked. Medium flame ensures a soft yet crispy crust.

Step 4: Add Sauce and Cheese

Now comes the fun part—layering your pizza!
- Spread tomato or pizza sauce evenly over the rolled dough. Avoid applying too much sauce, or the base may become soggy.
- Sprinkle a generous amount of shredded mozzarella cheese on top.
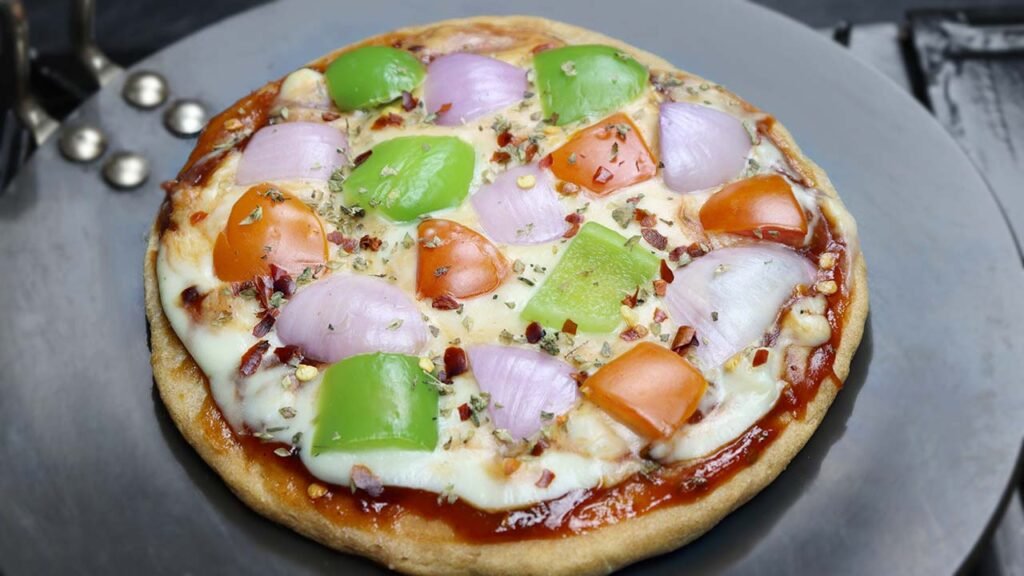
- Add your favorite fresh vegetables: bell peppers, onions, mushrooms, sweet corn, olives, and tomatoes.
- Sprinkle optional spices like oregano, black pepper, and red chili flakes for that classic pizzeria flavor.
Tip: For an extra cheesy and gooey pizza, add a mix of mozzarella and cheddar cheese. It melts beautifully on a tawa.
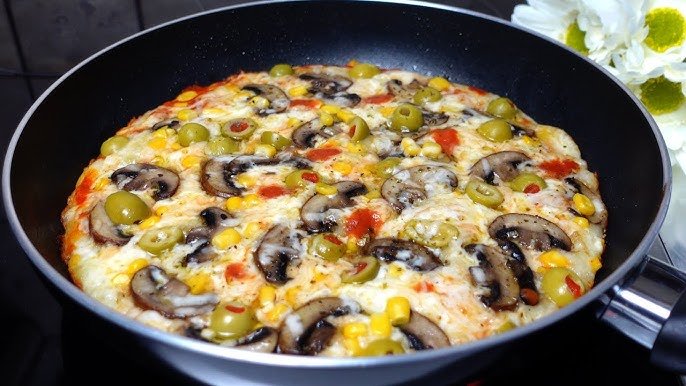
Step 5: Cook the Pizza on Tawa
Here’s the secret to tawa pizza perfection:
- Place the rolled and topped dough carefully on the preheated tawa.
- Cover the tawa with a lid to trap heat and help the cheese melt evenly.
- Cook for 5-7 minutes on medium flame.
- Check the base frequently; it should be golden brown and slightly crispy.
- Once the cheese is melted and veggies are tender, carefully transfer the pizza to a plate.
Pro Tip: Use a non-stick tawa or lightly oil a cast-iron skillet. Covering the pizza is crucial—it mimics an oven by trapping heat.

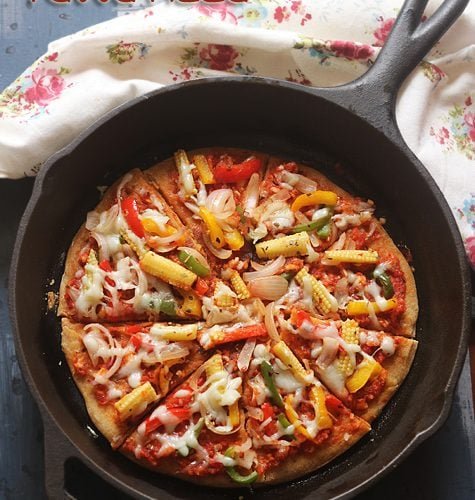
Step 6: Serve Hot and Enjoy
A tawa pizza is best enjoyed immediately while the cheese is gooey and the crust is crispy. Slice it into wedges, garnish with fresh basil or parsley, and serve with:
- Ketchup or chili sauce
- Garlic butter dip
- A side of fresh salad for a complete meal
Fun Tip: Experiment with different toppings like pineapple, jalapenos, olives, and spinach. Tawa pizza is versatile and allows creativity without the hassle of an oven.
Bonus Tips for Perfect Tawa Pizza Every Time
- Thin crust works best on tawa; thick dough may remain undercooked.
- Use low to medium flame for uniform cooking.
- Pre-grate cheese for faster melting.
- Add toppings in layers: cheese first, then veggies, then extra cheese on top.
- For a crunchy base, drizzle a little olive oil on the rolled dough before cooking.
Why Tawa Pizza Is Perfect for Busy Americans
Tawa pizza is not just a quick and easy meal—it’s also:
- Budget-friendly: No need for expensive pizza ovens.
- Customizable: Use any vegetables, cheese, or sauces you like.
- Family-friendly: Kids love helping with toppings.
- Time-saving: Ready in under 30 minutes.
Whether you’re cooking for one or feeding a hungry family, tawa pizza brings the joy of homemade Italian food right to your American kitchen.

Conclusion
Making a veg pizza on a tawa is a simple, fun, and rewarding way to enjoy a classic favorite without relying on an oven. With fresh ingredients, a soft dough, and just 6 easy steps, you can serve a delicious, cheesy, and perfectly cooked pizza in minutes.
Next time you crave pizza, grab your tawa, gather your veggies, and follow this guide. You’ll be amazed at how crispy the base is, how gooey the cheese melts, and how flavorful your homemade veg pizza tastes.
Start your tawa pizza adventure today, and transform your kitchen into a mini Italian pizzeria!
